Why Gel Nails at Home Are a Game Changer
Going to the salon every two weeks adds up fast. We’re talking $40 to $80 per
visit. Doing your own gel nails at home can save you hundreds of dollars
every year.
But saving money isn’t the only reason people are switching to DIY gel nails.
Here’s why so many people love doing gel nails at home:
- Saves $500 to $800 per year compared to salon visits
- Do them on YOUR schedule no appointments needed
- Full creative freedom try any color or design you want
- Lasts 2 to 3 weeks without chipping
- Dries instantly under LED lamp no smudging ever
Once you learn the process, it genuinely becomes fun. Many people find it
relaxing like a little self-care ritual every few weeks.
What You Need Before You Start
You don’t need a professional setup to do gel nails at home. Just a few
key tools make all the difference.
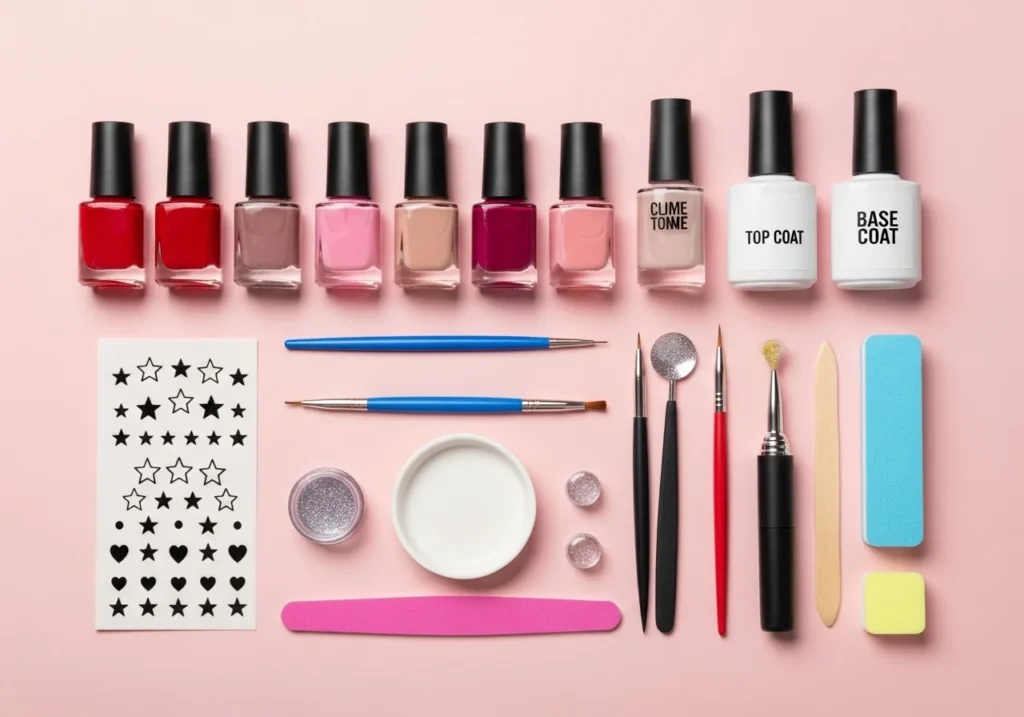
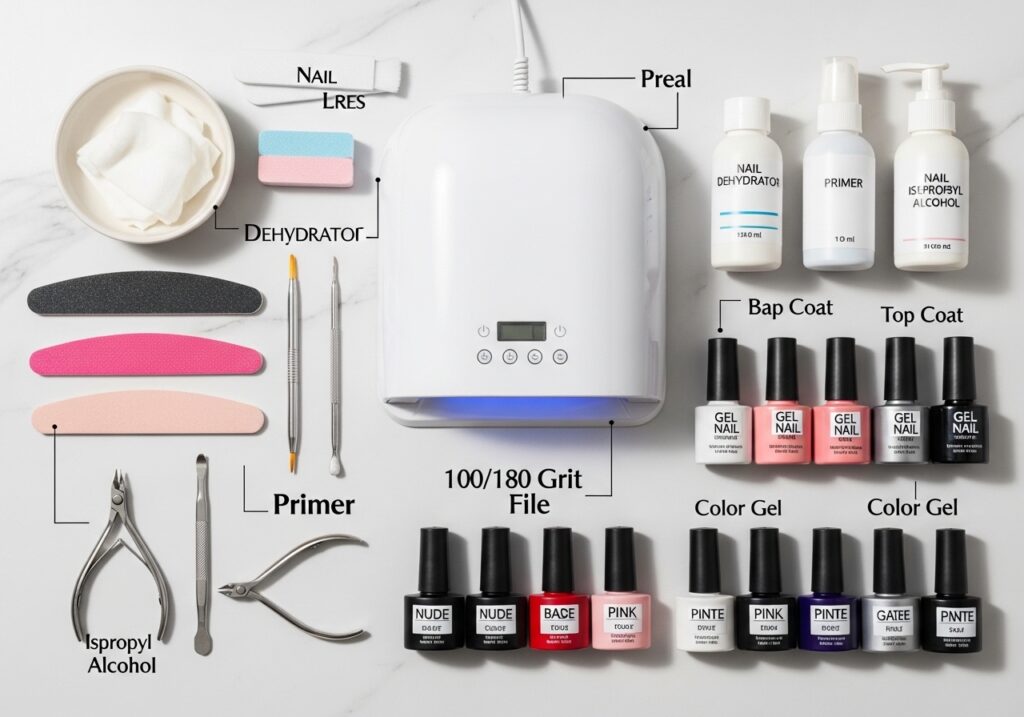
Must-Have Tools and Supplies
The Basics (Non Negotiable):
| Tool | Why You Need It |
|---|---|
| LED Nail Lamp | Cures and hardens the gel polish |
| Gel Base Coat | Creates a sticky layer for color to bond |
| Gel Color Polish | Your chosen shade |
| Gel Top Coat | Seals, protects, and adds shine |
| Nail File (180 grit) | Shapes and smooths the nail edge |
| Buffer Block | Lightly roughens the nail surface |
| Cuticle Pusher | Pushes back cuticle for a clean look |
| Lint-Free Wipes | Used with alcohol to clean nails |
| Isopropyl Alcohol (90%+) | Removes oils and sticky residue |
Optional But Helpful:
- Nail dehydrator or primer (helps gel stick longer)
- Cuticle oil (for aftercare)
- Nail clips or foil (for removal)
- Orange wood sticks (for cleaning up edges)
How to Do Gel Nails at Home: Full Step by Step Process
This is the main event. Follow each step carefully and you’ll get
professional looking results every time.
Step 1: Prep Your Natural Nails (Most Important Step!)
Here’s the truth: 80% of gel nail failures happen because of bad prep.
If your gel lifts, peels, or chips early it’s almost always a prep
problem. So take your time here.
How to prep your nails properly:
- Remove any old polish completely with acetone
- Wash hands with soap and dry thoroughly
- Push back cuticles gently don’t cut them
- Shape your nails with a nail file (pick your shape: square, oval, almond)
- Lightly buff the surface of each nail just enough to remove shine
- Wipe each nail with a lint free wipe soaked in isopropyl alcohol
- Apply nail dehydrator if you have it let it dry completely
- Do NOT touch your nails after this step oils from fingers
Warning: Skipping the alcohol wipe is the 1 beginner mistake.
Even clean looking nails have natural oils that prevent gel from bonding.
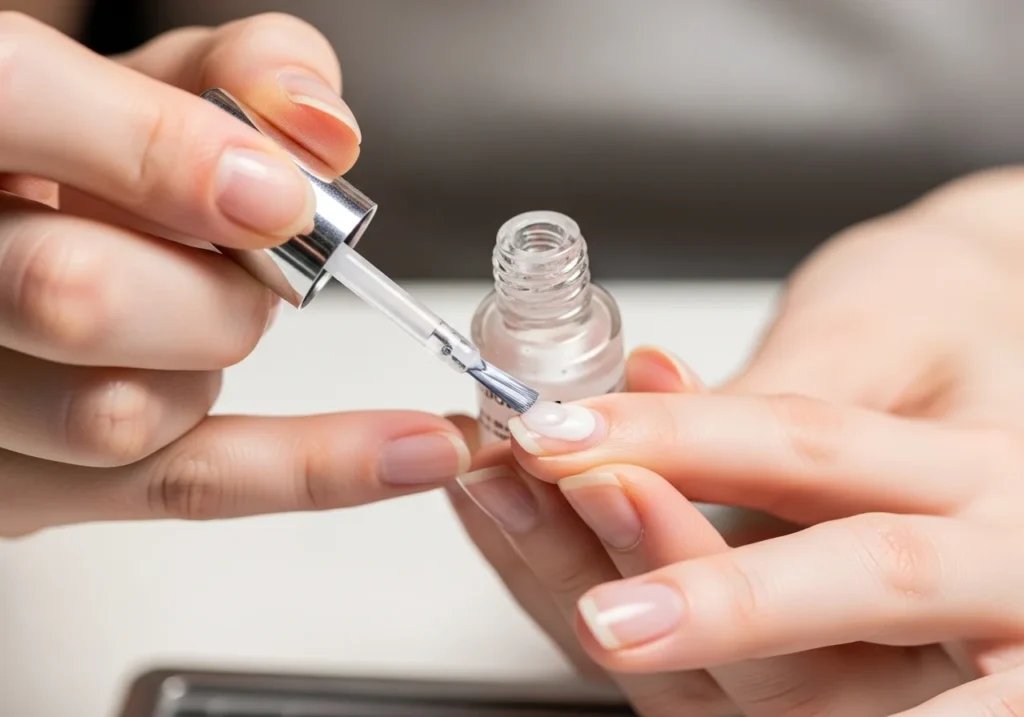
Step 2: Apply Gel Base Coat
The base coat is the foundation of your gel manicure. It helps everything
stick properly.
How to apply it:
- Shake the base coat bottle gently
- Apply a very thin, even layer to one nail at a time
- Brush from the base of the nail to the tip
- Cap the free edge (swipe brush across the tip of the nail)
- Make sure you don’t touch the cuticle or skin
- Cure under LED lamp for 30 to 60 seconds
Repeat on all 10 nails, curing each hand together if your lamp fits.
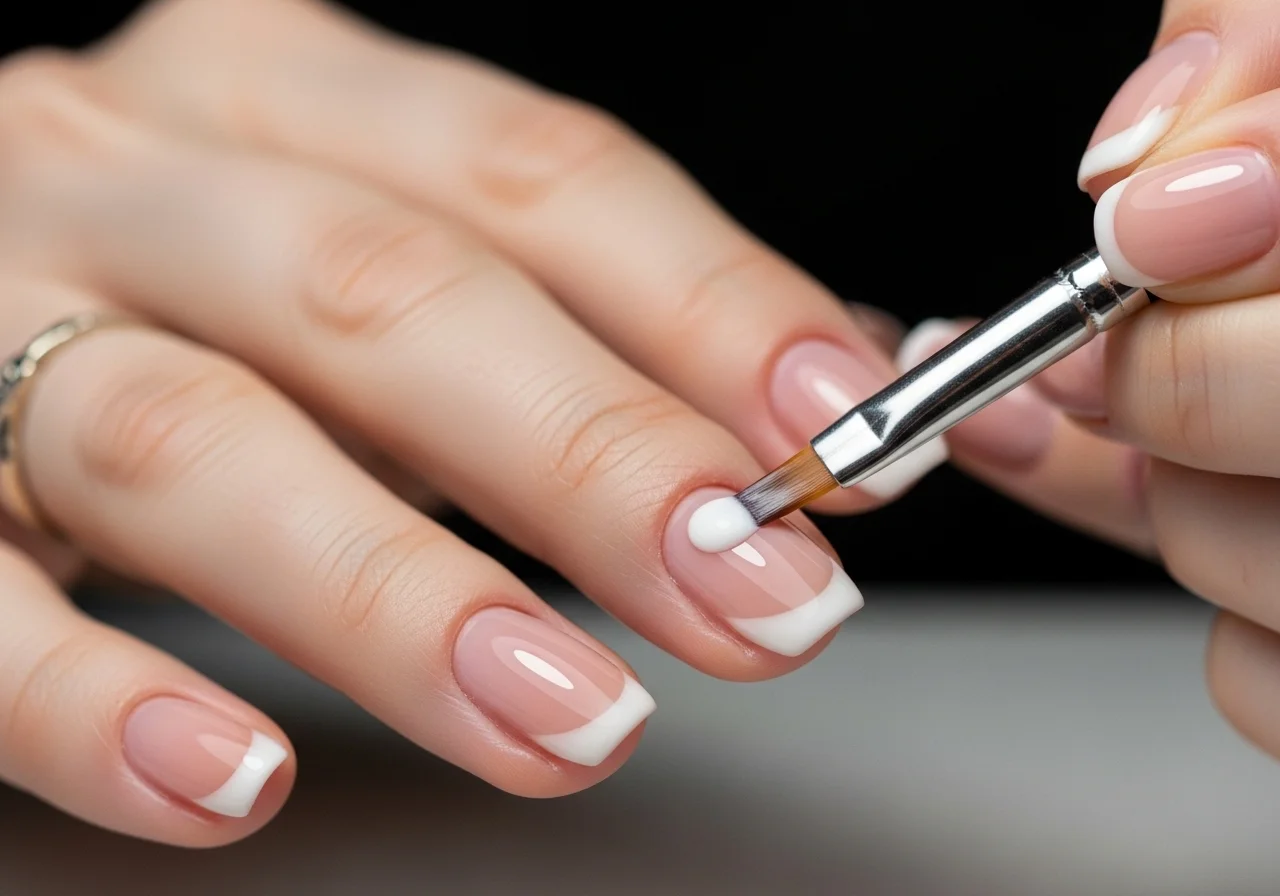
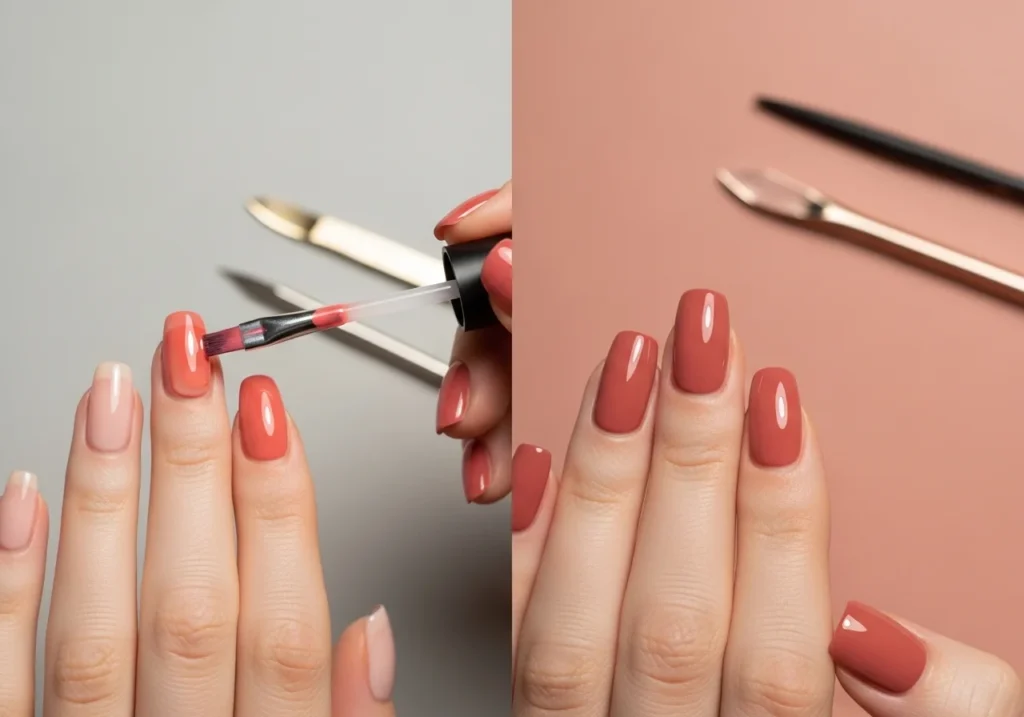
Step 3: Apply Gel Color 2 Thin Coats
Here’s where the fun begins! But remember thin coats are the secret.
First Coat:
- Apply a thin layer of your gel color
- Use slow, smooth strokes from base to tip
- Cap the free edge again
- Cure for 30 to 60 seconds under the lamp
Second Coat:
- Apply another thin layer for full, even color coverage
- Cap the free edge again
- Cure for 30 to 60 seconds
After two coats, the color should look rich and even. If there are any thin
or patchy spots, add a very thin third coat.
Common mistakes with color application:
- Applying too thick gel won’t cure properly and will wrinkle
- Getting polish on the skin causes edges to lift
- Rushing between coats always cure fully before the next coat
- Shaking the bottle too hard creates bubbles in the polish
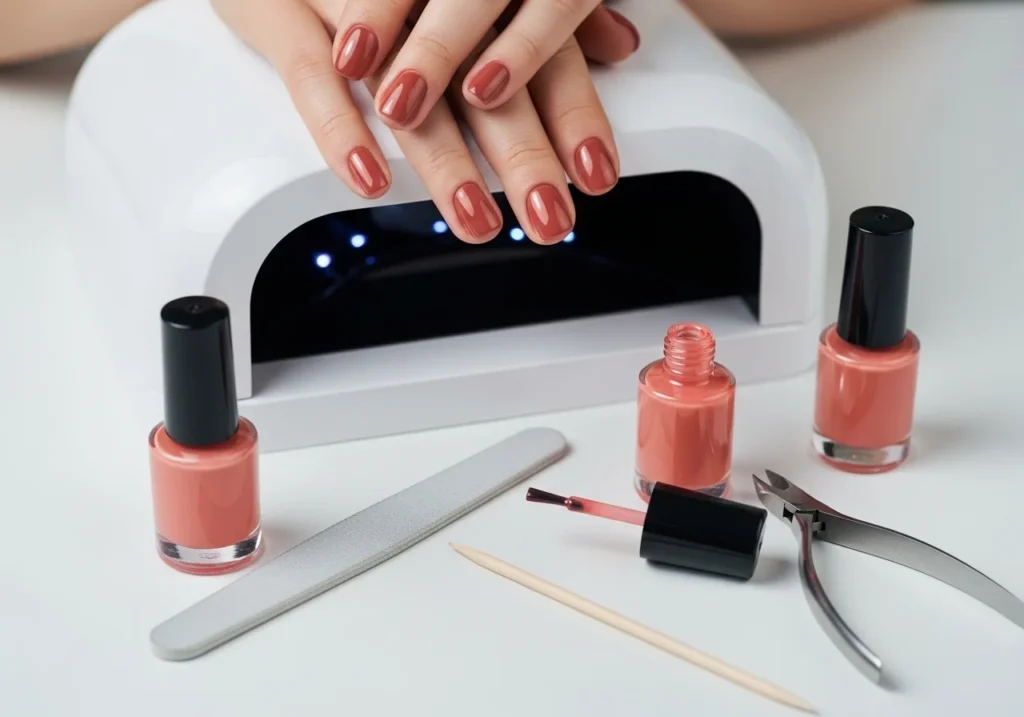
Step 4: Apply Gel Top Coat
The top coat is what gives gel nails that gorgeous, glass like shine. It
also protects your color from fading and chipping.
How to apply top coat:
- Apply a thin, even layer over your cured color
- Cap the free edge this is extra important for the top coat!
- Cure under LED lamp for 60 seconds (top coat usually needs longer)
- After curing, your nails will feel slightly sticky that’s normal
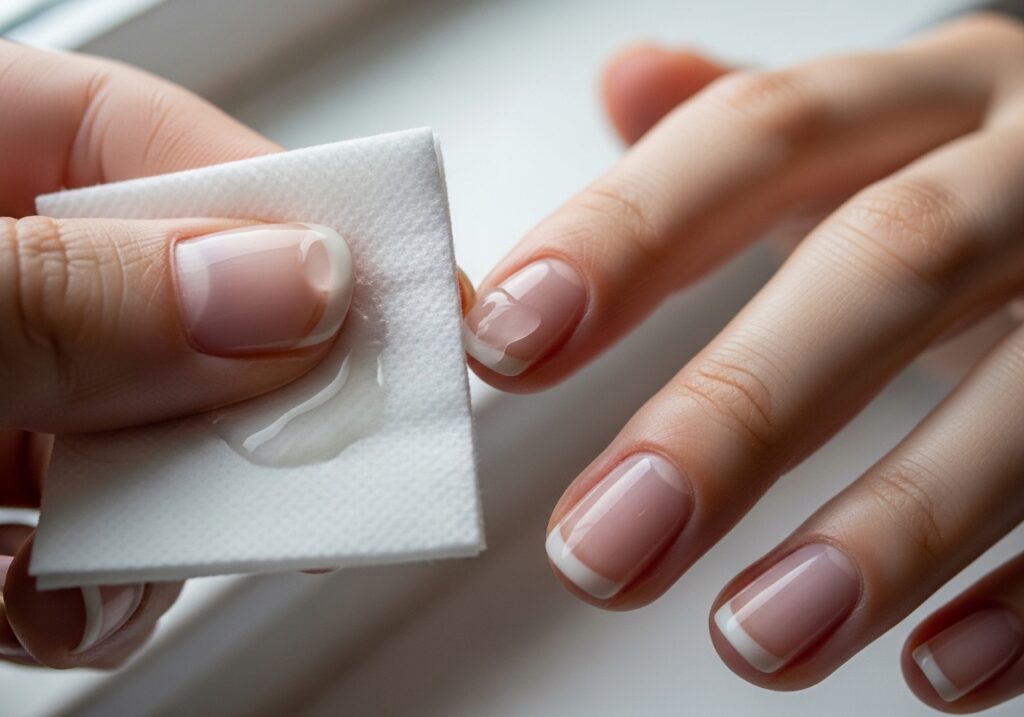
Removing the sticky layer:
- Soak a lint free wipe in isopropyl alcohol
- Wipe each nail firmly once
- Your nails will instantly become ultra shiny and smooth
How to Make Your Gel Nails Last Longer
You did the hard work now protect it! Here’s how to keep your gel nails at home looking fresh for as long as possible.
Daily habits that extend gel nail life:
- Wear gloves when washing dishes or cleaning
- Apply cuticle oil daily keeps nails flexible, prevents cracking
- Don’t use your nails as tools (opening cans, scratching stickers)
- Moisturize hands regularly
- Avoid long hot baths or soaking hands for long periods
With good care, your gel nails can easily last 3 full weeks.

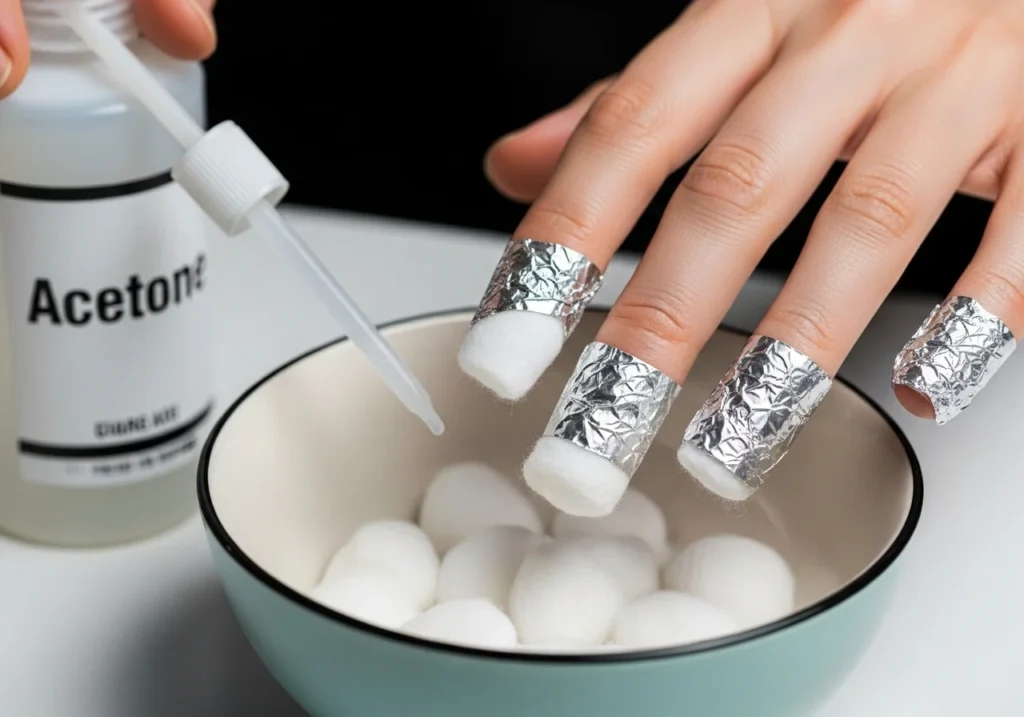
How to Remove Gel Nails at Home Safely
Please don’t peel your gel nails off. It strips layers from your natural
nail and causes serious damage over time.
Here’s the safe, proper way:
The Foil Method (Best Method):
- Lightly buff the shiny top coat just break the seal
- Soak small cotton pads in 100% acetone
- Place one cotton pad on each nail
- Wrap tightly with aluminum foil
- Wait 10 to 15 minutes
- Slide the foil off gel should come off with it
- Gently push off any remaining gel with a wooden stick
- Never scrape hard if it doesn’t come off, soak 5 more minutes
- Wash hands and apply cuticle oil generously
Your nails may look slightly dry after removal that’s normal.
Use cuticle oil and a hand cream for a day or two and they’ll recover.
Gel Nails at Home: Troubleshooting Guide
Something went wrong? Here’s how to fix it:
| Problem | Cause | Fix |
|---|---|---|
| Gel lifting at edges | Skin touching gel | Keep gel off cuticles, cap edges |
| Bubbles in polish | Thick coats or shaking bottle | Use thinner coats, roll bottle |
| Gel peeling in sheets | Poor prep / oily nails | Alcohol wipe before every application |
| Tacky after curing | Under-cured | Cure longer, check lamp wattage |
| Color looks streaky | Too thin or poor quality gel | Use 3 thin coats, try better brand |
| Nails break easily | Over-buffing or too thick | Buff less, apply thinner layer |
Conclusion
Learning how to do gel nails at home is one of the best beauty skills
you can pick up. It saves you money, gives you creative freedom, and once
you get the hang of it it’s genuinely enjoyable.
Quick recap of the key steps:
- Prep nails thoroughly clean, buff, alcohol wipe
- Apply thin base coat cure
- Apply 2 thin coats of color cure each one
- Apply top coat cure and wipe sticky layer
- Maintain with cuticle oil daily
- Remove safely with acetone foil method
You don’t need to be a professional. You just need the right tools, a little
patience, and this guide.
Ready to start? Grab a beginner gel nail kit, follow these steps, and share your results! We’d love to see your first DIY gel manicure.
Related Articles
Explore more topics in this category
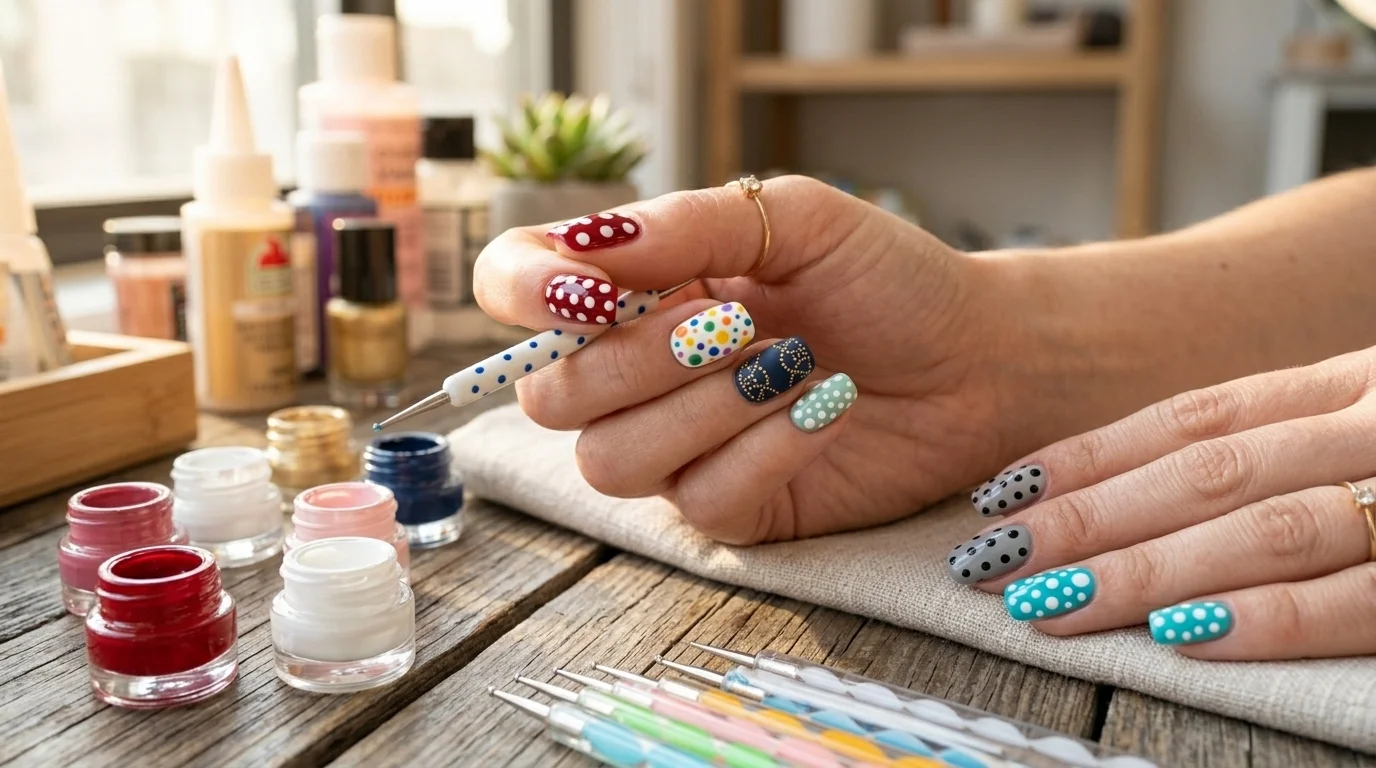
7 Minimalist Polka Dot Nail Designs for a Neat Everyday Look
I ruined my favorite white summer dress last year during a messy manicure session. I tried to create neat circles using…
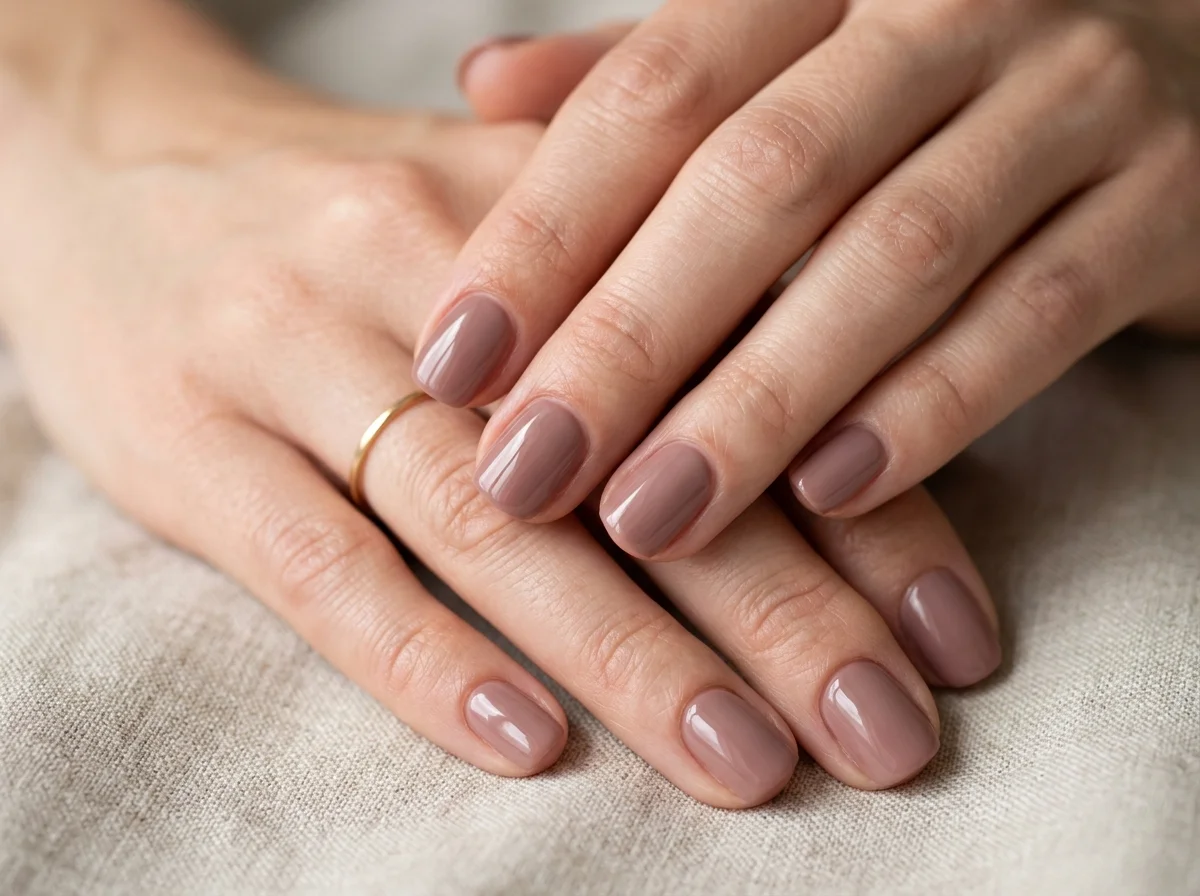
5 Elegant & Simple Nail Designs for a Clean Aesthetic
I used to hide my hands during college presentations because of my short nails. I mistakenly believed that only long acrylics…
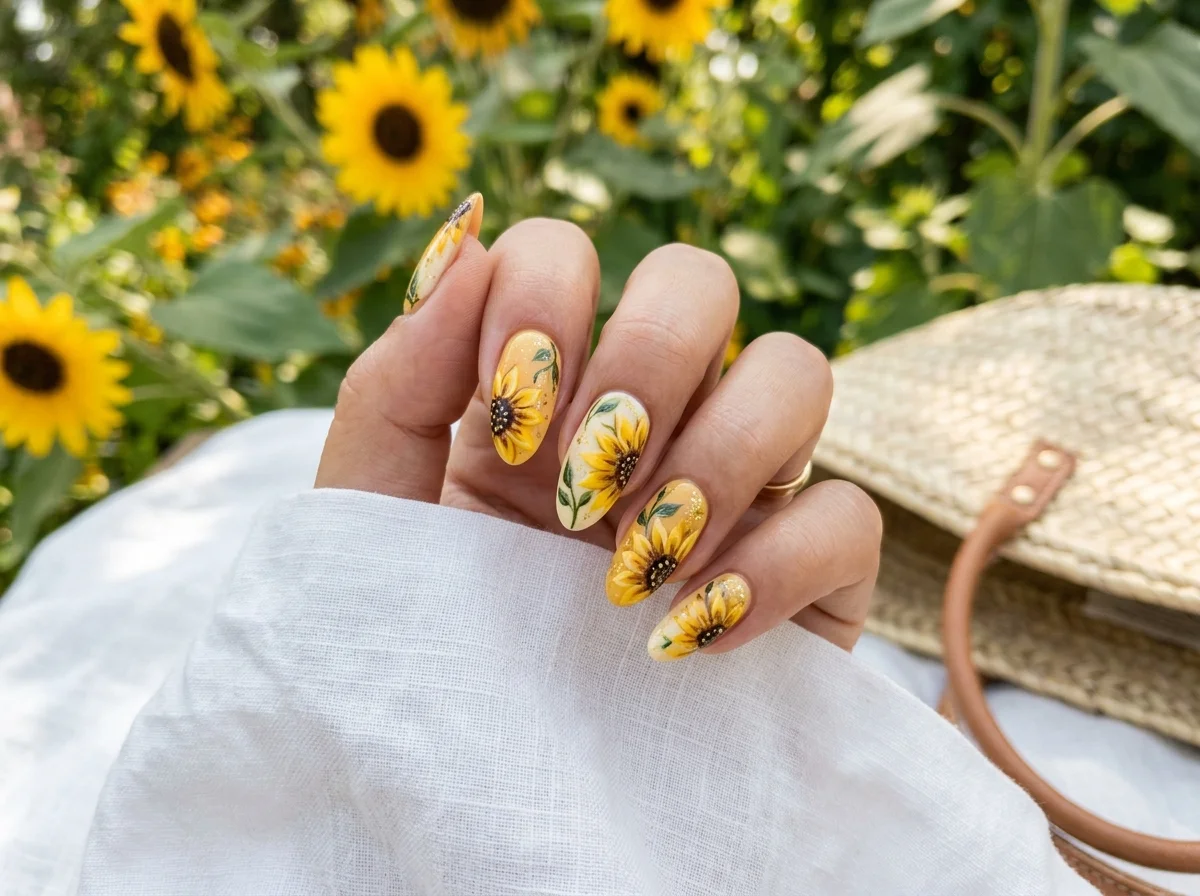
15 Radiant Sunflower Nail Designs to Brighten Your Summer
I used to avoid floral art because I thought it looked too busy or childish for my style. Everything changed when…

Mila
Beauty content creator and chief editor at EasyBeautyHacks. Dedicated to testing and sharing the best DIY skincare treatments, makeup techniques, and time-saving hair hacks. Mila helps women elevate their daily beauty routines without spending a fortune.
Read more about Mila →