
Halloween nail art doesn’t have to be difficult, even if the finished designs look impressive. Beginners can create beautiful nail art with nothing more than a few simple tools and a bit of patience. I recreated my first Halloween design using only a dotting tool and two polish colors, and it looked far more polished than I expected for a first attempt.
This guide covers twelve easy Halloween nail art ideas, the tools beginners should have on hand, which tool suits which design, common mistakes to avoid, and how to make the designs last through the whole season.
Why Is Halloween Nail Art Perfect for Beginners?
A few qualities make this a great starting point for anyone new to nail art, even without any prior experience.
- Easy to learn, since most designs use simple shapes and basic strokes.
- Budget-friendly, requiring only a few polish colors to create several looks.
- No salon experience needed, since every design here works at home with basic tools.
- Great for DIY manicures, using tools most people already own.
- Perfect for Halloween parties and everyday wear, depending on how bold you want the design.
12 Easy Halloween Nail Art Ideas Anyone Can Recreate
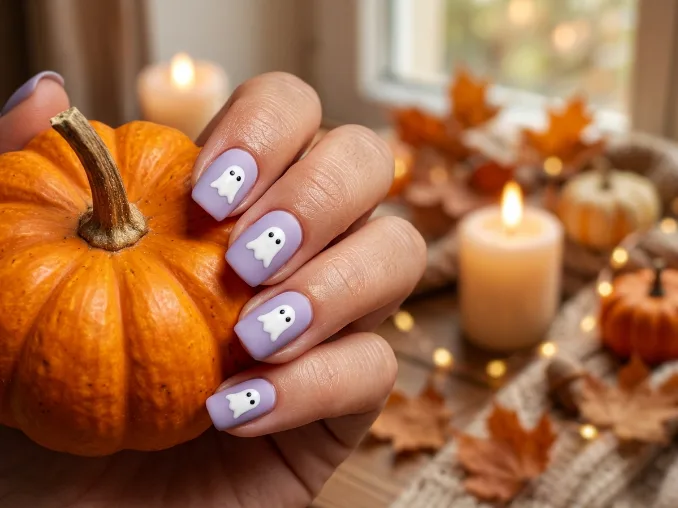
1. Friendly Ghost Nails
Simple white ghost shapes painted on a colored base feel playful rather than spooky. Two small black dots finish the eyes and complete the design in seconds. This is one of the easiest designs on this list for a first attempt.
2. Candy Corn Color Block Nails
Yellow, orange, and white stripes stacked on each nail mimic the classic candy shape. Letting each color dry before adding the next keeps the lines crisp and clean. A thin brush or piece of tape helps keep the stripe edges straight.
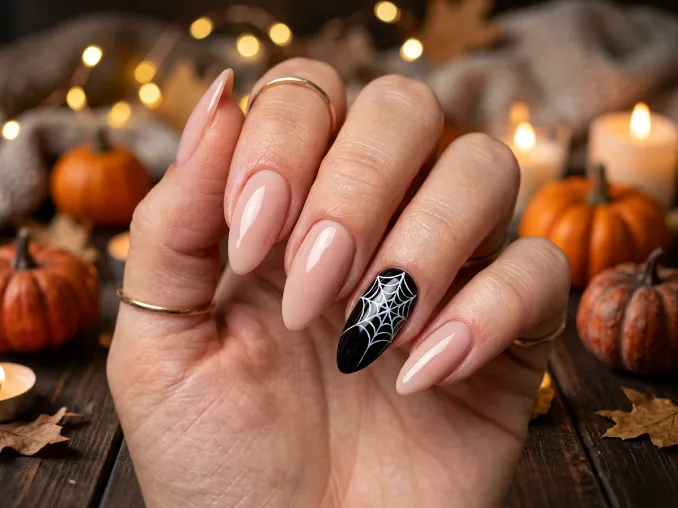
3. Spider Web Accent Nails
A single accent nail with a thin white web design adds detail without covering every nail. Starting from the center and working outward creates the most realistic shape. A toothpick works just as well as a nail art brush for this design.
4. Tiny Bat Silhouette Nails
Small black bat shapes on a lighter base add a graphic, seasonal touch. A nail art stamp makes this design far easier than painting each bat by hand. Placing two or three bats at different heights adds a bit of movement to the design.
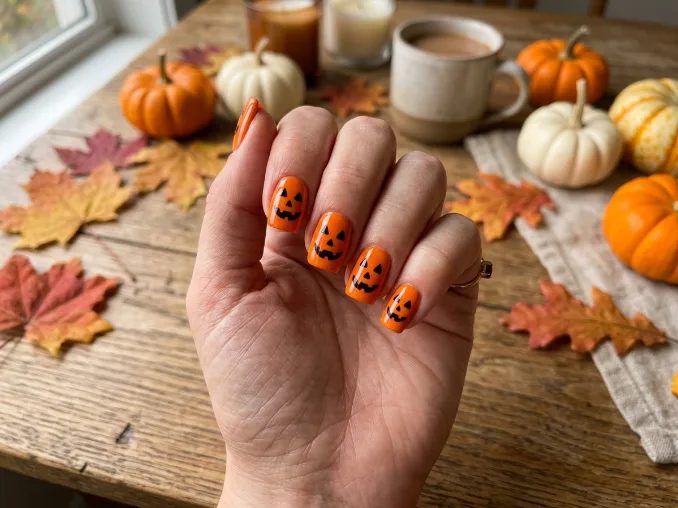
5. Jack-o’-Lantern Smile Nails
An orange base with simple black triangle eyes and a jagged smile mimics a classic carved pumpkin. This design reads clearly even without much fine detail work. A small green line at the top of the nail finishes the pumpkin shape nicely.
6. Black French Tips with Stars
Swapping the classic white tip for black gives a French manicure an easy seasonal update. Adding a few tiny white star dots near the tip finishes the look. A striping tape guide helps keep the black tip line clean and even. If you love this spooky twist, explore more French nails for elegant styles that work beautifully throughout the year.
7. Mummy Wrap Nails
White polish striped across each nail, with small dot eyes added on top, mimics a wrapped mummy. Slightly uneven stripes actually add to the bandage-like effect. This design works especially well on shorter nails, where the stripes read clearly.
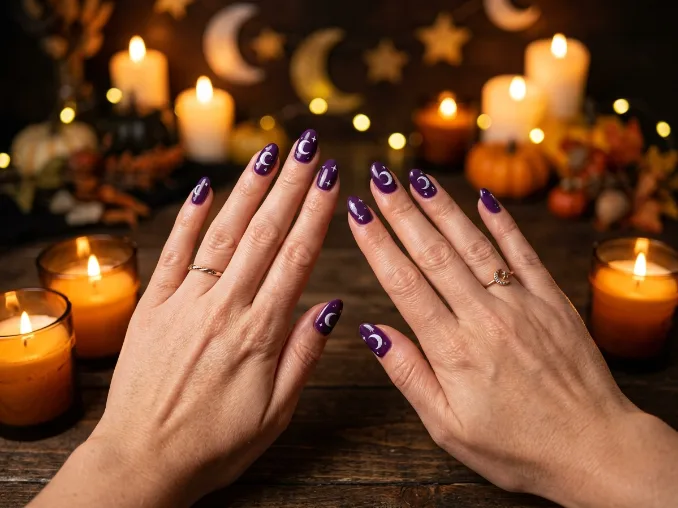
8. Purple Moon and Stars Nails
A deep purple base with a simple white crescent moon and a few dot stars creates a dreamy, nighttime look. This design works well as a single accent nail or across the whole set. A dotting tool makes the stars quick and consistent across every nail.
9. Green Monster Accent Nails
A bright green base with two small black stitches or bolts adds a playful, monster-inspired detail. This design suits both kids’ Halloween looks and adult costume manicures. Adding one wide eye to the accent nail brings the monster theme together.
10. Dripping Slime Nails
Green or neon polish dripped from the tip of a lighter base creates a fun, gooey effect. A thin brush keeps the drips looking intentional rather than messy. This design photographs especially well under Halloween party lighting.
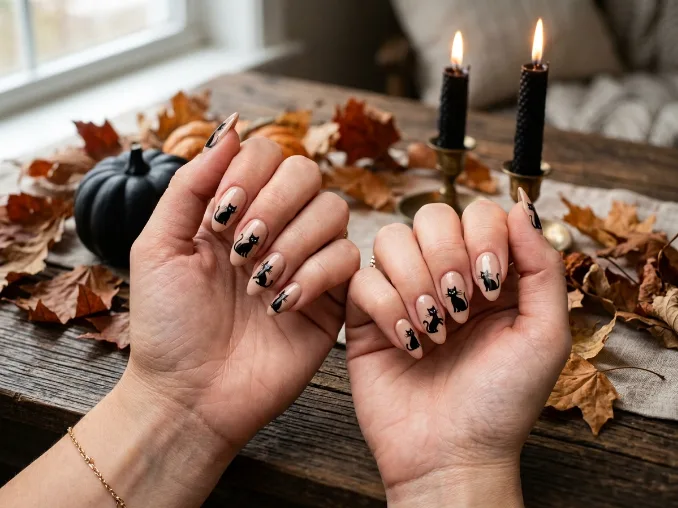
11. Black Cat Nail Art
A black cat silhouette or simple whiskers drawn on a nude base reads as playful rather than scary. This design pairs easily with an all-black Halloween outfit. Adding two small pink dots for ears gives the silhouette a bit more personality.
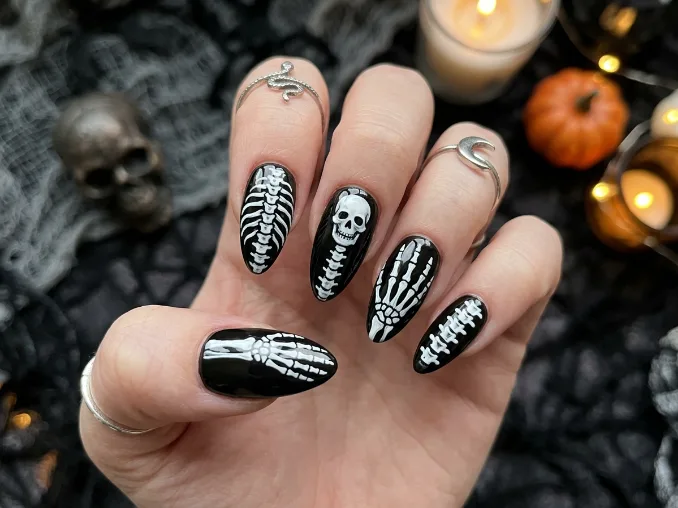
12. Skeleton Bone Nails
White bone shapes painted on a black base mimic an X-ray style skeleton design. This design looks striking even with fairly simple linework. Focusing the detail on just the middle and ring fingers keeps the design from feeling overwhelming.
What Nail Art Tools Should Beginners Have?
A small kit covers nearly every design on this list, and most of it can be reused for years to come.
- Base coat and top coat to protect the design and help it last longer.
- A dotting tool or toothpick for eyes, dots, and small round details.
- A thin nail art brush for fine lines like webs, whiskers, and bat wings.
- Fine nail stickers, optional but useful for anyone who wants to skip freehand painting.
- Halloween nail polish colors, covering black, white, orange, purple, and green at minimum.
- Nail polish remover for quick fixes when a design doesn’t turn out as planned.
Which Tool Works Best for Each Design?
Matching the right tool to each design saves time and reduces frustration, especially when you’re just starting out with nail art.
A dotting tool or toothpick handles eyes, stars, and small round details across designs like the ghost, mummy, and moon and stars nails. A thin nail art brush works best for fine lines, including spider webs, bat silhouettes, and whiskers on the black cat design. Striping tape helps keep straight edges clean on designs like the French tips and candy corn stripes.
Nail stickers offer a shortcut for anyone who wants a clean bat, web, or star design without freehand painting at all. Building a small collection of these tools once means you can revisit any design on this list for future Halloween seasons without buying anything new each year.
Common Beginner Mistakes to Avoid
Skipping the Base Coat
Going straight to color without a base coat leaves nails more prone to staining. A base coat also helps polish last longer without chipping early, especially with darker colors like black or purple.
Applying Thick Polish Layers
Thick coats take longer to dry and are more likely to smudge before they set. Two thin coats almost always look better and last longer than one thick one, even if it takes a few extra minutes.
Starting with Complicated Designs
Jumping straight into detailed nail art before practicing basics often leads to frustration. Simple shapes, like dots and stripes, build confidence before anything more advanced, like the web or skeleton designs.
Not Waiting Between Coats
Adding a new layer before the last one dries usually smudges the whole design. A minute or two of patience between coats prevents most avoidable mistakes and saves a redo later.
Forgetting to Seal the Design
Skipping the top coat leaves hand-painted details vulnerable to chipping within a day. A good top coat also adds shine and helps colors stay vibrant longer, keeping fine lines from smudging.
Do These Designs Work on Any Nail Shape?
Most of these designs adapt easily to whatever shape you already have, from natural nails to a fresh salon set.
Square and almond shapes give more surface area for detailed designs like candy corn stripes or skeleton bones. Rounder or shorter nails work well with simpler designs, like the ghost or black cat silhouette, where less space is needed to read clearly. Coffin or stiletto shapes handle dramatic effects like the dripping slime especially well, since the elongated tip gives the design more room to show and drip realistically down the nail.
Starting with a simpler design on your first attempt makes it easier to judge how much detail actually fits comfortably on your nail size and shape.
Simple Tips for Better Halloween Nail Art
Practice One Design First
Trying a new design on paper or a practice nail wheel builds confidence before committing to real nails. This small step saves polish and frustration later, especially for designs with fine detail like webs or stars.
Use Thin Brush Strokes
Thin strokes are easier to control than thick ones, especially for fine details like whiskers or web lines. Building up color in layers gives more control than one heavy stroke applied all at once.
Let Every Layer Dry
Rushing between colors or details often smudges the whole design. Giving each layer a minute to set keeps lines crisp and clean, even on more detailed designs like candy corn stripes.
Keep Your Color Palette Simple
Sticking to two or three colors per design usually looks more polished than five competing shades. Simple palettes also make the beginner designs on this list much easier to recreate consistently.
Finish with a Glossy Top Coat
A glossy top coat makes colors look richer and helps protect any hand-painted details underneath. This small step is what gives a finished manicure its polished, salon-like look.
How Can You Make Your Halloween Nail Art Last Longer?
A few habits keep these designs looking fresh through the whole season, especially with hand-painted details that can be more delicate than a simple color.
- Apply cuticle oil daily to keep the skin around your nails looking healthy.
- Wear gloves while cleaning to protect both the design and your natural nails.
- Refresh the top coat every few days to maintain shine and prevent early chipping.
- Avoid using your nails as tools for opening packages or scratching labels.
- Store nail polish in a cool place to keep colors and formulas from thickening too quickly.
Conclusion
Halloween nail art doesn’t have to be difficult, even for someone who has never picked up a nail art brush before. Start with one or two simple designs from this list before working your way toward anything more advanced. Most of these designs took me a few tries to get comfortable with, so don’t worry if the first attempt isn’t perfect on your first try either. If you enjoy beginner-friendly manicures beyond Halloween, explore our Simple Nail Designs guide for more easy, elegant styles you can wear throughout the year.
Ready to Create Your First Halloween Nail Art?
Choose the design that catches your eye and give it a try without overthinking the details too much. Save your favorite design, gather a few basic nail tools, and enjoy creating your own Halloween manicure at home.
Related Articles
Explore more topics in this category
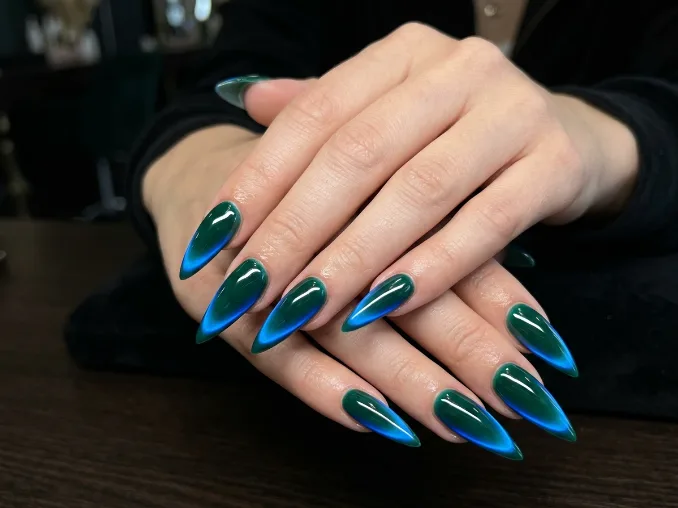
Neon Aura / Neon Ombré Nails: 8 Dark Base Designs
Neon aura / neon ombré nails on dark bases create high-contrast, luminous manicures. Dark backgrounds like black, navy, or plum absorb…
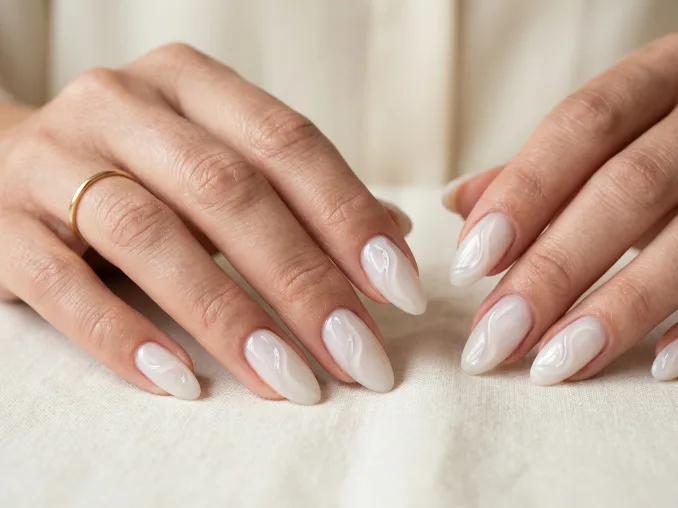
Tactile Minimalism Nail Art: 15 Modern Textured Nail Ideas
Tactile minimalism nail art is quickly redefining quiet luxury manicures. This modern aesthetic swaps loud patterns and high-contrast colors for subtle…
Sardine Nail Shape Trend: 12 Stunning Short Square Nails
Short square nails are getting a distinct update with the rise of the “sardine” nail shape trend. The “sardine” nail shape…

Mila
Beauty content creator and chief editor at EasyBeautyHacks. Dedicated to testing and sharing the best DIY skincare treatments, makeup techniques, and time-saving hair hacks. Mila helps women elevate their daily beauty routines without spending a fortune.
Read more about Mila →