
Christmas nail designs don’t need a salon appointment to look genuinely festive. A few basic tools and two or three polish colors cover most of the looks people admire during the holidays. I painted my first Christmas nails at my kitchen table with a toothpick and leftover red polish, and they still held up through an entire week of parties, chipping less than I expected for something done in twenty minutes.
This guide covers ten simple Christmas nail designs, the tools that make them easier, nail shape considerations, common mistakes, and tips for keeping the look fresh through the whole season.
These Christmas nail designs look great on both short natural nails and longer extensions.
Why Do Simple Christmas Nail Designs Work So Well?
A few reasons make simple designs the better choice for most people during the holidays.
Busy schedules leave little room for anything that takes an hour at the salon. Simple designs also hold up better day to day, since fewer fine details mean less to chip or smudge. They photograph just as well for holiday gatherings, and they cost far less than a full acrylic set with hand-painted art. Most importantly, a simple design still reads clearly as festive without looking overdone, which matters most on a night when you’d rather be enjoying the party than worrying about your manicure.
10 Simple Christmas Nail Designs
Each of these designs works on its own or combined with a few others from this list.
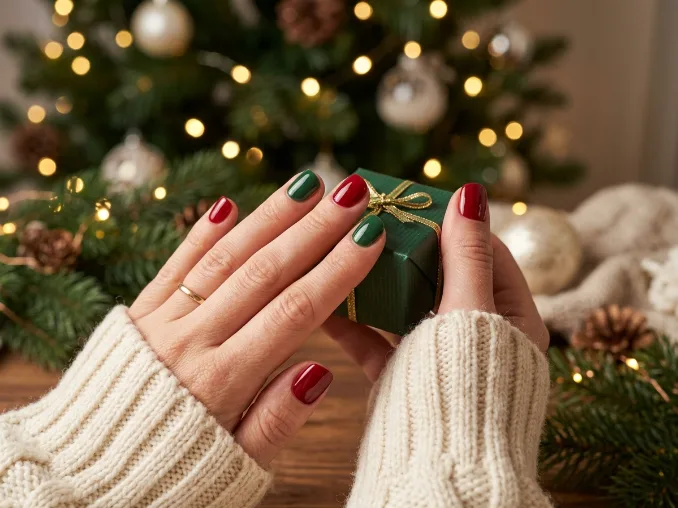
1. Classic Red and Green Alternating Nails
Painting alternating red and green nails creates an instantly recognizable holiday look. This design needs only two polish colors and a steady hand, with no fine detail work required. Adding a glossy top coat over both colors keeps the finish looking cohesive rather than mismatched.
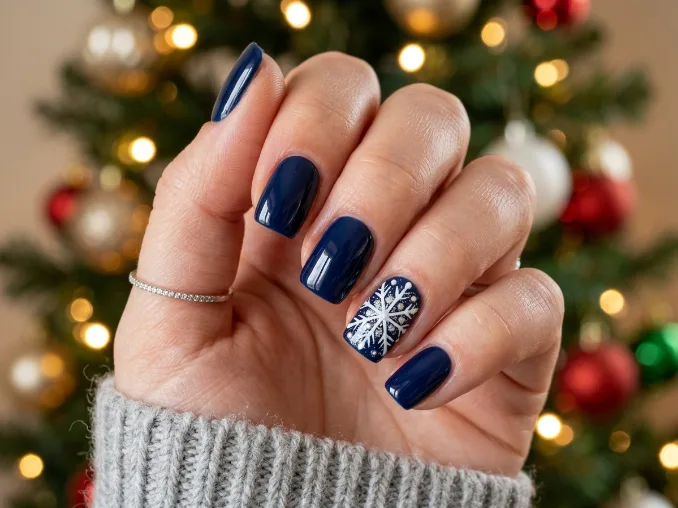
2. Snowflake Accent Nail
A single white snowflake painted on one accent nail adds detail without covering the whole set. A dotting tool makes the small connecting lines far easier than a brush alone. Painting the snowflake over a deep blue or navy base makes the white stand out even more clearly.
3. Candy Cane Stripe Nails
Thin red and white stripes wrapped around the nail mimic a classic candy cane. Using striping tape as a guide keeps the lines clean, even for a first attempt at this style. Curving the stripes slightly, rather than keeping them perfectly straight, makes the design read more like an actual candy cane.
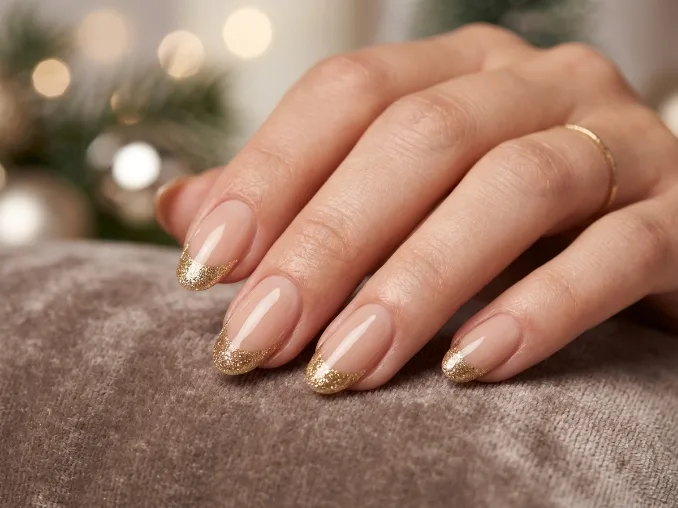
4. Gold Glitter Tips
A simple French manicure gets a festive update by swapping the white tip for gold glitter polish. This design works especially well on short to medium nails. Dabbing the glitter on with a sponge, rather than painting it directly, gives a cleaner, more even edge.
5. Matte Deep Green Nails
A single coat of matte green polish creates a rich, seasonal look with almost no effort. This design suits anyone who wants something festive without any hand-painted detail. A matte top coat is what transforms a regular polish into this softer, velvety finish.
6. Plaid Accent Nail
A small red and green plaid pattern on one nail adds a cozy, seasonal detail. Thin brush lines crossed over each other create the plaid effect without needing precision. Keeping the plaid to just one nail, rather than the whole set, prevents the design from feeling too busy. If you enjoy simple seasonal nail art, you may also like our Pumpkin Spice Nail Ideas for cozy fall inspiration.
7. Silver Star Nails
Small silver star stickers or hand-painted dots arranged in a cluster create a simple starry effect. This design works well over any dark base color, from black to deep red. Varying the size of the stars slightly makes the cluster look more natural than a perfectly even grid.
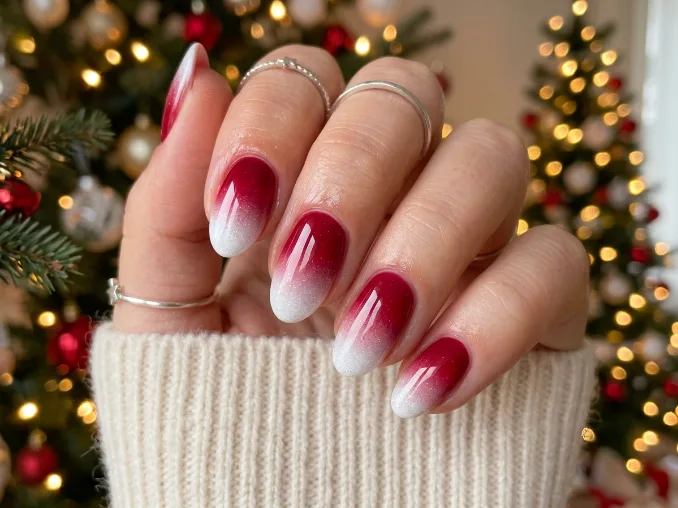
8. Ombre Red to White Nails
A gradient from deep red at the base to soft white at the tip creates a wintery, blended look. A makeup sponge dabbed over the nail blends the colors more evenly than a brush. Building the gradient in thin layers, rather than one heavy application, keeps the transition looking smooth.
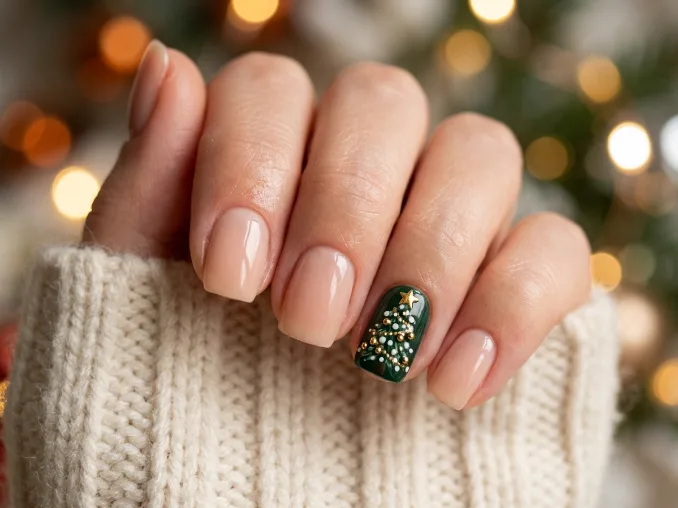
9. Mini Christmas Tree Nails
A simple green triangle shape topped with a small star mimics a classic Christmas tree. This design works especially well as a single accent nail rather than a full set of matching trees. Small gold dots scattered across the triangle add the look of tiny ornaments without much extra effort or precision.
10. Classic French Tip in Red
Swapping the traditional white tip for a bright red one updates a French manicure for the season. This design stays subtle enough for work while still feeling festive. Striping tape helps keep the tip line clean, especially for anyone newer to painting a French manicure by hand.
Does Nail Shape Affect These Designs?
Most Christmas nail designs adapt easily to whatever nail shape you already have.
Square and almond shapes give more surface area for detailed designs like plaid or candy cane stripes. Rounder or shorter nails work best with simpler designs, like matte green or a single accent nail, where less space is needed to read clearly. Coffin or stiletto shapes handle the ombre and tree designs especially well, since the elongated tip gives each design more room to show.
Starting with a shape you already have, rather than changing shape and design at the same time, makes it easier to judge how a new design actually looks on your hands.
What Tools Make These Designs Easier?
A small kit covers nearly every design on this list, and most of it can be reused across future holiday seasons.
A dotting tool or a toothpick handles small details like snowflakes, stars, and dots. Striping tape keeps candy cane stripes and other straight lines clean and even, even for someone who’s never used it before. A thin nail art brush works well for plaid patterns and tree shapes that need more control than a regular polish brush allows. A makeup sponge, the kind normally used for foundation, blends ombre designs far more evenly than trying to blend with polish alone, and it’s usually something already sitting in a makeup bag.
Common Mistakes to Avoid With Christmas Nail Designs
A handful of small mistakes come up again and again with holiday nail art.
Skipping the Base Coat
Going straight to color without a base coat leaves nails more prone to staining, especially with darker shades like deep red or green. A base coat also helps polish last longer without chipping early, particularly around the tips.
Applying Polish Too Thick
Thick coats take longer to dry and are more likely to smudge before they set. Two thin coats almost always look cleaner and last longer than one heavy one, even though it takes a few extra minutes.
Rushing Between Colors
Adding a new color before the last one fully dries usually smudges the whole design. Giving each layer a minute or two to set prevents most avoidable mistakes and saves a frustrating redo.
Overcomplicating the Design
Trying a detailed design as a first attempt often leads to frustration and a messy result. Starting with something simple, like alternating colors or a single accent nail, builds confidence for anything more detailed later in the season.
Forgetting a Top Coat
Skipping the top coat leaves any hand-painted detail vulnerable to chipping within a day or two. A good top coat also adds shine and helps the whole design look more finished and polished.
Helpful Tips to Keep Christmas Nails Looking Fresh
A few small habits keep these designs looking good through the entire holiday stretch.
- Reapply top coat every few days to protect the design and keep the shine looking new, especially on high-contact fingertips.
- Wear gloves while cleaning to protect polish from hot water and harsh cleaning products around the house.
- Moisturize cuticles daily, since dry cuticles make even a great design look less polished overall.
- Avoid using nails as tools, since opening packages or scratching labels puts unnecessary stress on painted tips.
- Store polish in a cool place to keep formulas from thickening or separating before your next manicure.
- Keep a small remover pen on hand for quick cleanup around the edges without needing a full redo.
Salon Gel vs. At-Home Polish for These Designs
Both options work for the designs on this list, though they suit slightly different needs.
Salon gel lasts longer, often two to three weeks without chipping, which matters if you want the design to survive the entire holiday season. At-home regular polish costs far less and lets you change designs as often as you like, which works well for anyone who enjoys trying a new look each week of December. Regular polish also makes mistakes easy to fix, since a swipe of remover starts you over in seconds, while gel requires more time and product to redo.
Someone hosting several holiday events might prefer gel for the durability, while someone who likes variety might get more enjoyment out of switching designs at home every week or two. For most of the simple designs on this list, regular polish covers the look just as well as a salon visit would, without the added cost or appointment time.
What Colors Work Beyond Red and Green?
Classic red and green aren’t the only options for a festive look.
Silver and icy blue create a wintery, elegant feel that works well past the holidays and into January. Deep burgundy and gold pair nicely for anyone who wants something richer than traditional bright red. Black and gold combinations lean more toward New Year’s Eve but still fit comfortably within a Christmas color story if that’s the palette you already prefer.
Sticking to one main color and one accent, rather than mixing four or five shades, keeps any of these combinations looking intentional.
Which Christmas Nail Design Fits You Best?
Choosing a Christmas nail design becomes much easier when you think about your plans and how much time you have.
- Best for beginners: Classic Red and Green Alternating Nails
- Best for a quick manicure: Matte Deep Green Nails
- Best for holiday dinners: Gold Glitter Tips
- Best for Christmas parties: Candy Cane Stripe Nails
- Best for everyday wear: Classic Red French Tips
- Best for a playful festive look: Mini Christmas Tree Accent Nail
Conclusion
Simple Christmas nail designs prove that festive doesn’t have to mean complicated or expensive. A couple of polish colors and one afternoon at home cover most of what makes these looks feel seasonal.
Even the least detailed design on this list still reads clearly as holiday-ready once it’s on your nails. Looking for another festive manicure? Explore our Halloween Nail Art for Beginners for more easy designs you can create at home.
Ready to Try a Christmas Nail Design at Home?
Pick one design from this list that matches your comfort level and give it a try before your next holiday gathering. Save your favorite ideas so you have them ready when you’re deciding what to wear on your nails this season. A little practice with one simple design often builds enough confidence to try something more detailed next time.
Related Articles
Explore more topics in this category
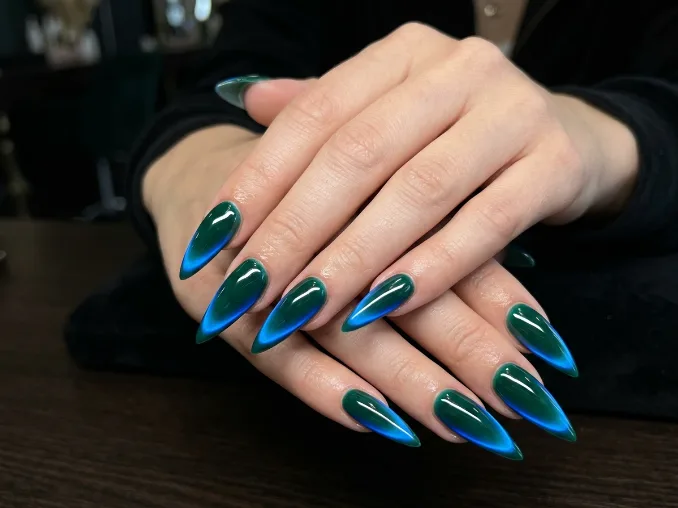
Neon Aura / Neon Ombré Nails: 8 Dark Base Designs
Neon aura / neon ombré nails on dark bases create high-contrast, luminous manicures. Dark backgrounds like black, navy, or plum absorb…
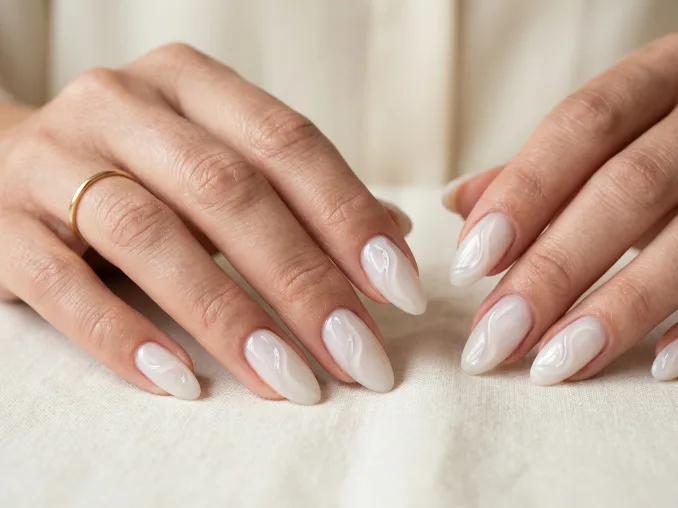
Tactile Minimalism Nail Art: 15 Modern Textured Nail Ideas
Tactile minimalism nail art is quickly redefining quiet luxury manicures. This modern aesthetic swaps loud patterns and high-contrast colors for subtle…
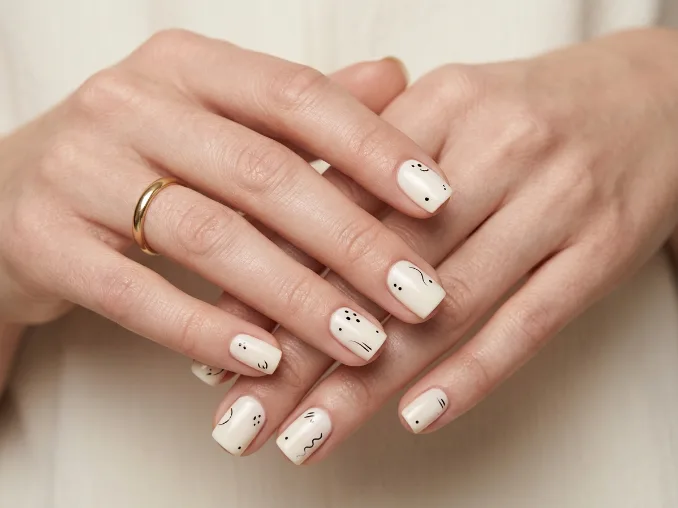
Sardine Nail Shape Trend: 12 Stunning Short Square Nails
Short square nails are getting a distinct update with the rise of the “sardine” nail shape trend. The “sardine” nail shape…

Mila
Beauty content creator and chief editor at EasyBeautyHacks. Dedicated to testing and sharing the best DIY skincare treatments, makeup techniques, and time-saving hair hacks. Mila helps women elevate their daily beauty routines without spending a fortune.
Read more about Mila →