I learned about eye makeup techniques the hard way. A few years ago, I walked into a high-profile wedding thinking my ‘smoky eye’ was flawless, only to realize under the venue lights that I looked like I hadn’t slept in a week the dreaded raccoon effect. That messy blending disaster was my wake-up call: makeup isn’t just about the products you buy; it’s about mastering the precision and layering that happens behind the scenes.
Since then, through countless trials and professional workshops, I’ve refined a routine that actually works for real-life lighting. Today, I’m sharing the exact methods that transformed my routine from patchy to professional-grade. These aren’t just generic tips you’ll find on a wiki page; they are practical, hard-earned lessons that will help you avoid my past mistakes and finally master the art of the perfect gaze
Preparing Your Canvas Most People Skip
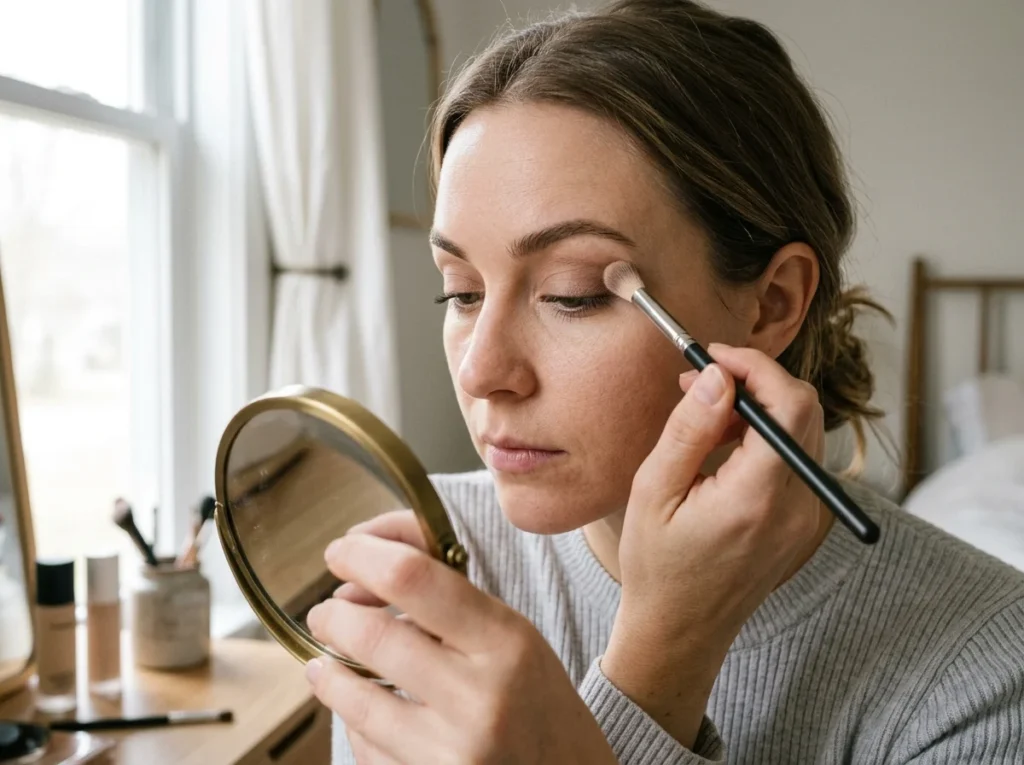
Before we dive into colors, let’s talk about the foundation of all great looks. I used to apply shadow directly onto bare lids, but by lunchtime, my makeup would migrate into my eye creases. This happened because our eyelids produce natural oils that break down pigment throughout the day. Now, I never start without a dedicated eye primer or a thin layer of concealer set with translucent powder. This simple step creates a smooth, velcro-like surface for your eye makeup techniques to grip onto. Without this base, even the most expensive luxury eyeshadows will look patchy and dull within hours.
Choosing the right primer is about understanding your specific skin type and needs. For those with oily lids, a matte-finish primer is a non-negotiable tool for success. If you have drier skin, a hydrating concealer might work better to prevent a cakey texture. I personally recommend tapping the product in with your ring finger for the lightest touch possible. The goal is a thin, even layer that neutralizes any redness or visible veins on the lid. This preparation ensures that the colors you apply later will look exactly as they do in the pan.
Always use a skin-tone shadow to set your primer for easier blending later. Avoid applying thick layers of foundation on lids as it causes heavy creasing.
Identifying Your Eye Shape for Custom Placement
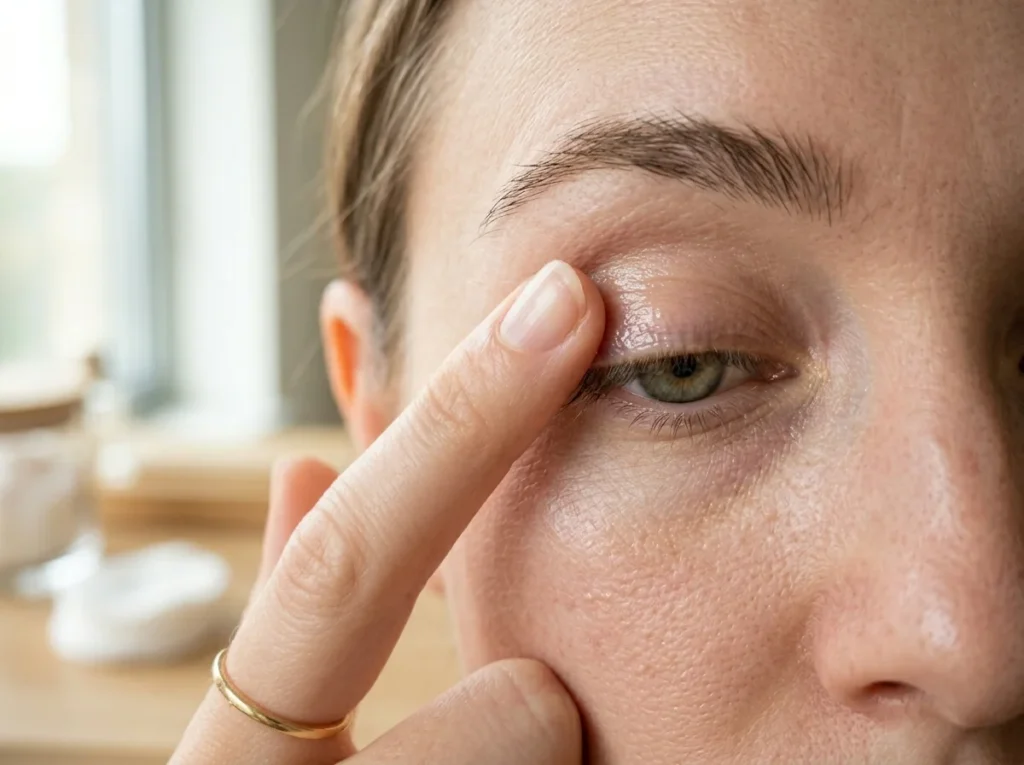
Understanding your eye shape changed everything for my personal routine and professional work. For years, I tried following “one-size-fits-all” tutorials only to find that my eyes looked smaller instead. Hooded eyes, almond eyes, and monolids all require very different placement strategies to look their best. For example, if you have hooded eyes, you need to apply shadow slightly above the crease. This ensures that the beautiful colors you’ve blended don’t disappear the moment you open your eyes. These specific eye makeup techniques help in creating an illusion of larger, more defined lids.
I once spent an hour on a look that completely vanished because I didn’t account for my lid space. Expertise in makeup starts with looking straight into a mirror with your eyes open. This open-eye method allows you to see exactly where the focal points should be placed. If you have downturned eyes, focusing the shadow on the outer corners can provide a lifting effect. If you have wide-set eyes, bringing deeper shades toward the inner corners helps create balance. It’s about working with your natural anatomy rather than fighting against it every single day.
Almond eyes are the most versatile for practicing the classic outer V lift. Monolids benefit greatly from vertical gradients to create a sense of deep dimension.
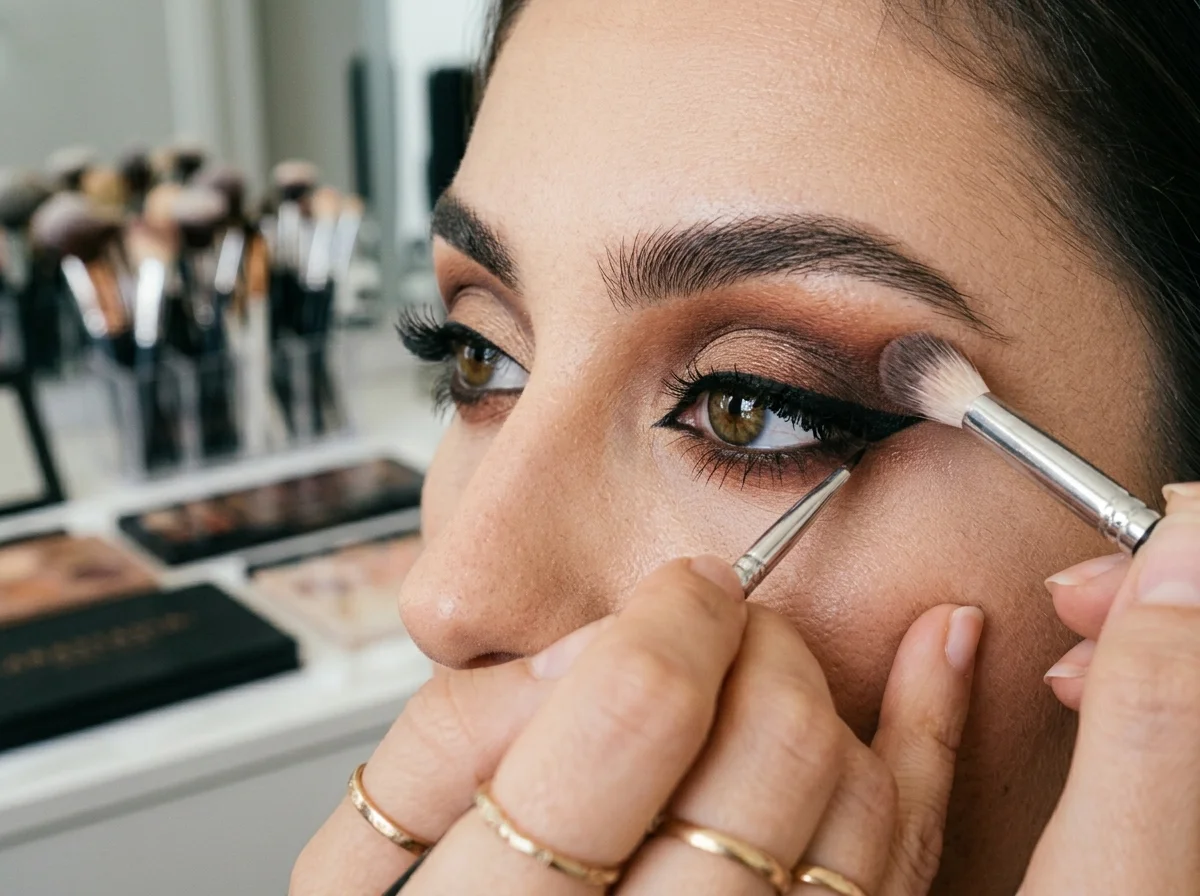
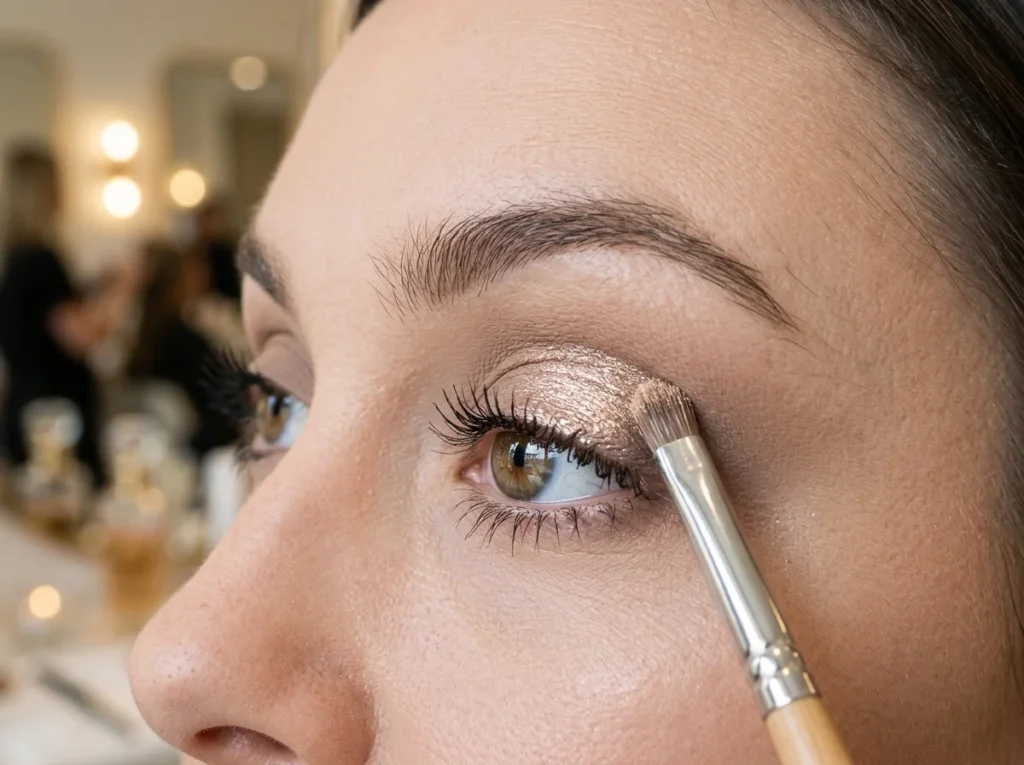
The Secret to Seamless Blending by Motion and Tools
Blending is the bridge between a DIY look and a professional, high-end finish. In my early days, I used to scrub the shadow onto my lids with short, stiff brushes. This resulted in harsh lines that were impossible to fix without removing the whole look. I finally learned that the secret lies in the windshield wiper and circular motions. Using a clean, fluffy blending brush is the only way to get those soft, smoky transitions. It’s a rhythmic process that requires a light hand and quite a bit of patience.
I always tell my students to hold the brush at the very end of the handle. This reduces the pressure you apply to the lid, allowing the bristles to do the work. If you hold the brush too close to the bristles, you’ll likely create muddy spots. Start with a transition shade that is just two shades darker than your skin tone. This shade acts as a buffer between your skin and the darker colors you’ll add later. By layering gradually, you ensure that there is a soft gradient rather than a sudden stripe.
The windshield wiper motion is best for distributing color evenly across the crease. Small circular motions help buff out edges for a soft and airbrushed final effect.
Mastering the Transition Shade for Professional Depth
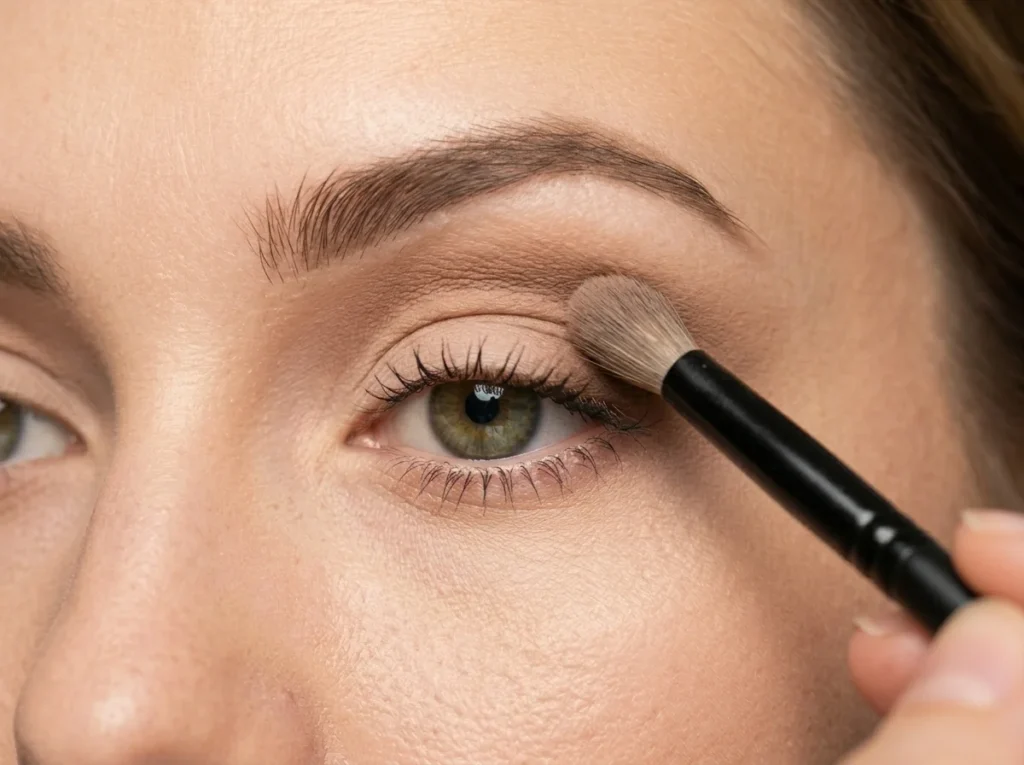
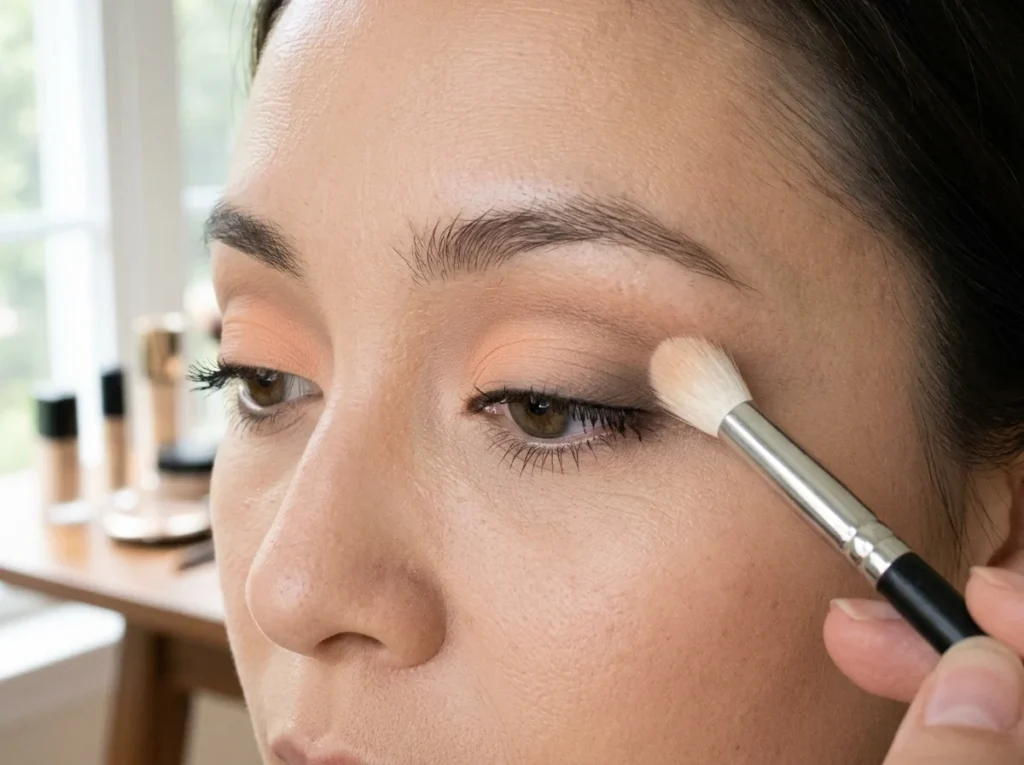
The transition shade is arguably the most important color in your entire eyeshadow palette. I used to ignore it and go straight for the dark browns and blacks. The result was always a harsh, unblended mess that looked far too aggressive for daytime. A good transition shade provides a pathway for the darker shadows to follow smoothly. It should be a matte color that mimics the natural shadows of your eye socket. Mastering this is a core part of advanced eye makeup techniques that everyone should know.
When I started using a warm peach or soft taupe first, my blending time was cut in half. These bridge colors help the deeper shades melt into the skin without any visible borders. You should apply this shade slightly above the crease using a large, tapered brush. Keep the application light and build it up until you see a soft hint of color. It might seem like an extra step, but it’s the foundation of all professional eye makeup techniques. Once this is down, applying other eye makeup techniques becomes incredibly easy and fast.
Learning how to balance these eye makeup techniques ensures your look always has professional-level depth and dimension.
The Art of the Cut of Precision and Patience
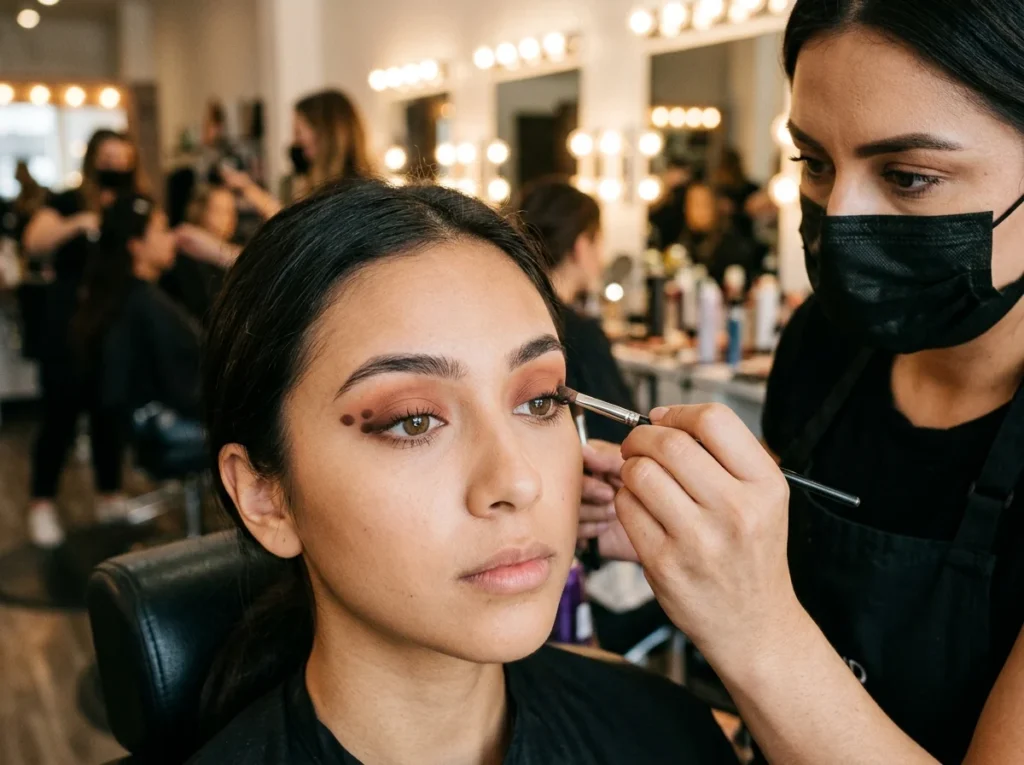
The cut crease is a technique that often intimidates beginners because it requires extreme precision. I remember my first attempt ended in a smeared mess because I rushed the process. This technique is designed to define the crease by cutting it with a contrasting color. Usually, this involves using a flat brush and a bit of concealer to sharpen the line. It creates a very dramatic, clean, and structured look that is perfect for photography or events. These eye makeup techniques are essential for anyone wanting to achieve a high-fashion, sharp aesthetic.
The trick I learned is to apply a bit of concealer to your lash line and look up. The spot where the concealer transfers onto your lid marks exactly where your cut should be. Use a very stiff, flat synthetic brush to carve out that line with slow, steady movements. Don’t worry if it isn’t perfect on the first try; you can always clean it up. Once the line is crisp, you can pack a shimmer or bright matte shadow on top. Applying these advanced eye makeup techniques correctly will make your eyes appear much larger and more awake.
Mastering the eye makeup techniques involved in a cut crease requires a steady hand and high-quality synthetic brushes. Try using the tape method to achieve a sharp and winged-out outer edge for your shadow. A tiny pencil brush helps deepen the crease area before you start cutting the line
Eyeliner Mastery From Pencil to Precise Wings
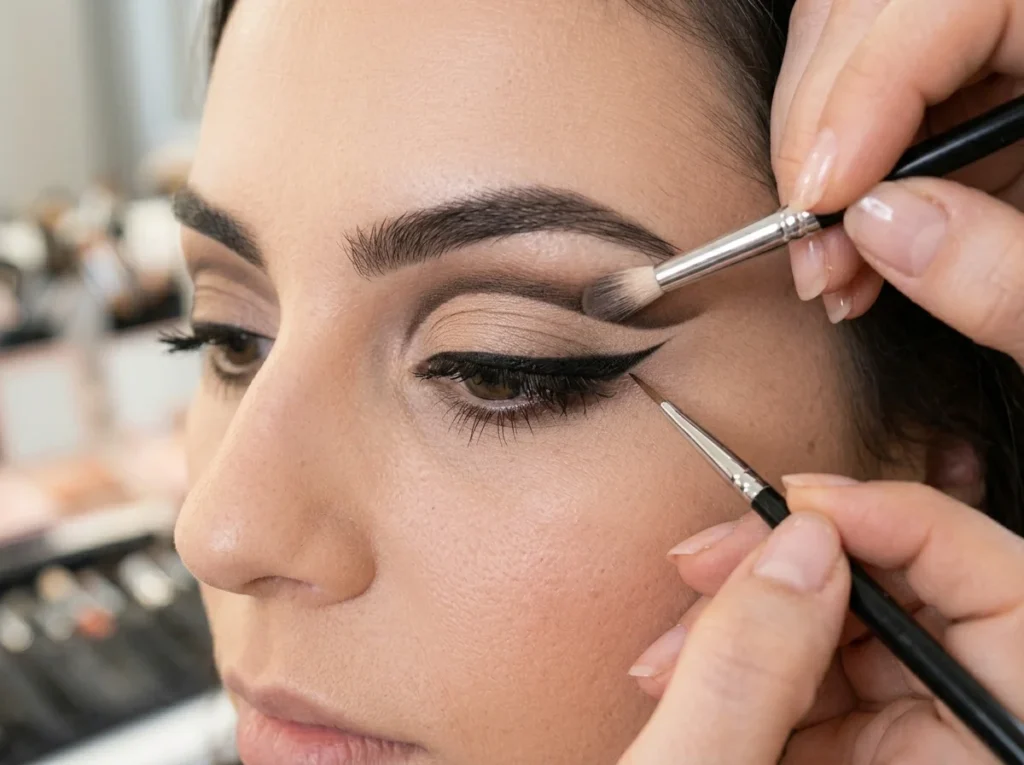
Eyeliner is the frame for your eyes, but it’s also where most people get stuck. I spent years struggling with uneven wings, with one pointing up and the other pointing out. The dot-to-dot method was the first technique that actually gave me consistent, symmetrical results every time. Instead of drawing one long line, place three small dots along your lash line and connect them. This breaks the task down into manageable segments, making it much harder to make a mistake. Using these eye makeup techniques ensures your liner is always on point, sharp, and perfectly balanced.
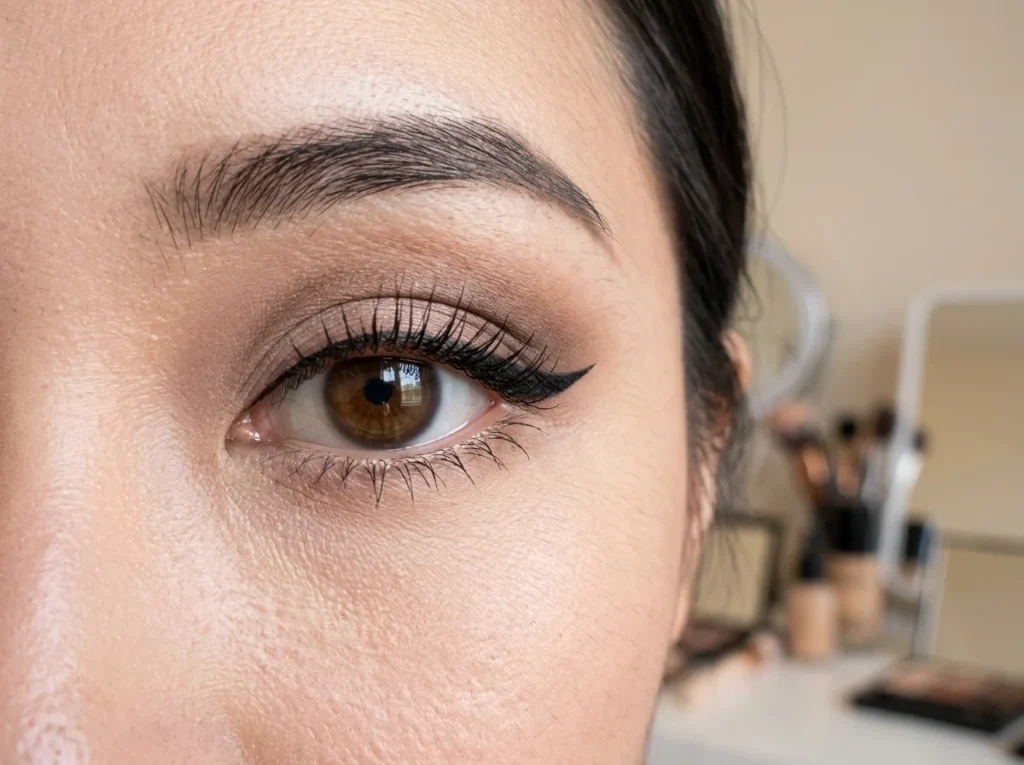
For a classic wing, always follow the natural upward curve of your bottom lash line. If you extend that line toward the tail of your brow, you’ll create a flattering lift. I prefer using a gel liner with a brush for maximum control and a long-wearing finish. If you have shaky hands, try resting your elbow on a flat surface like a table. This stabilizes your arm and allows for a much smoother, more precise application of the product. Learning these specific eye makeup techniques for liner application will transform your daily routine from stressful to effortless.
Consistent practice with these eye makeup techniques is the only way to achieve that iconic, razor-sharp cat-eye look. Pencil liners are best for a soft, smudged look or for tightlining the inner rim. Liquid or gel liners are superior for sharp, graphic lines and professional cat-eye finishes.
Shimmer and Glitz Adding Dimension Without the Mess
Adding shimmer can elevate a look, but it often leads to fallout all over your cheeks. I used to do my foundation first, only to have it ruined by sparkling eyeshadow particles. Now, I always apply my shimmer shades using a damp brush or even just my ring finger. The natural oils in your finger help the shimmer pigments adhere much better to the skin. This provides a more intense, metallic payoff compared to using a dry, fluffy brush. These eye makeup techniques for shimmer application are life-changers for anyone who loves some sparkle.
If you are using loose glitter, a glitter glue or primer is absolutely essential for safety. Without a sticky base, the glitter will eventually fall into your eyes, which can be very irritating. I apply the glitter glue only to the areas where I want the most shine. This keeps the look intentional and prevents the sparkle from spreading to the matte transition areas. For a halo eye effect, place the shimmer only in the very center of the lid. This creates a spotlight effect that makes the eyes look rounded and incredibly bright.
Spray your brush with setting spray before dipping it into any shimmer shadow. Always keep shimmers on the lid and avoid putting them in the crease.
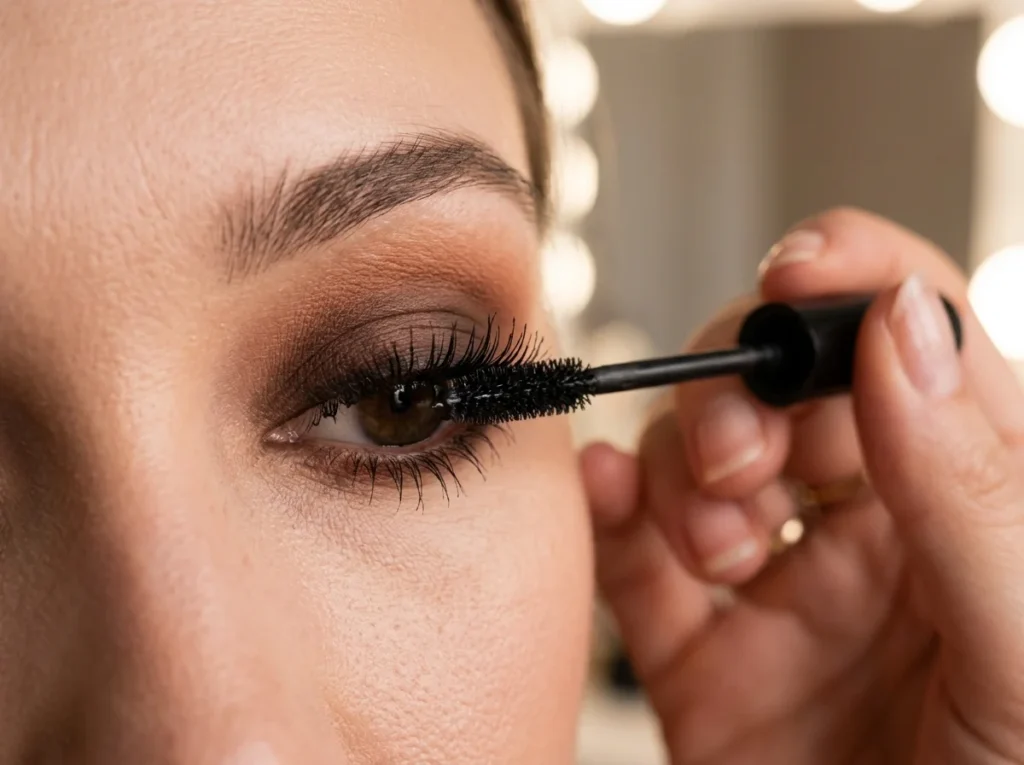
Finishing Touches with Mascara and Lash Application
No eye look is complete without long, dark lashes to tie the whole thing together. I used to think my lashes were just too short until I discovered the power of an eyelash curler. Curling your lashes for ten seconds before applying mascara opens up the eye significantly and looks better. When applying mascara, wiggle the wand at the base of the lashes before pulling it through. This coats the roots heavily, which creates the illusion of thicker, fuller lashes without needing falsies. These final eye makeup techniques truly complete the entire professional facial transformation and give that “awake” look.
If you choose to wear false lashes, always measure them against your eye and trim the excess. I once wore a pair that was too long, and it poked the inner corner of my eye all night. Trimming from the outer edge ensures the lash maintains its natural shape and fits comfortably on your lid. Apply the glue and wait thirty seconds for it to become tacky before placing it down. This prevents the lash from sliding around and ensures it stays in place from morning until night. These final details are what separate a beginner from someone who has mastered eye makeup techniques in their daily routine.
Mastering these eye makeup techniques for lashes adds the perfect finishing touch to any bold or neutral look. Use a smaller wand for bottom lashes to avoid smudging on the lower lid. Choose a clear drying glue formula to hide any small lash application mistakes.
Conclusion
Mastering these eye makeup techniques is a journey that requires more patience than expensive products. I truly believe that once you stop fighting your natural eye shape and start working with it, your confidence will soar. My personal experience has taught me that even the messiest “raccoon eye” disaster is just a step toward professional-level blending. Remember to keep practicing these steps consistently, and don’t be afraid to experiment with new colors or sharper lines today.
Now that you have the blueprint for a perfect look, I want to see how you apply these hacks! Which of these techniques are you going to try firstthe seamless blending or the sharp cut crease? If you found these hard-earned lessons helpful, please share this guide with a friend who is also on their makeup journey. Feel free to leave a comment below with your results or any questions you have, as I love hearing about your progress!
Related Articles
Explore more topics in this category


Mila
Beauty content creator and chief editor at EasyBeautyHacks. Dedicated to testing and sharing the best DIY skincare treatments, makeup techniques, and time-saving hair hacks. Mila helps women elevate their daily beauty routines without spending a fortune.
Read more about Mila →